Wizards Overview
Simflofy wizards allow users to easily create connections and jobs by simply selecting the software connectors you want to use enter the required configurations and let Simflofy do the rest. There are three available wizards. Quick Build, Integration and Federation.
This page will walk you through how to use each wizard type.
Quick Build Wizard
To use the Quick Build Wizard follow the steps below:
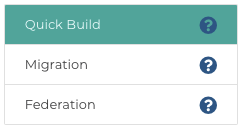
Begin by selecting wizards from the navigation menu on the left.
Select Quick Build

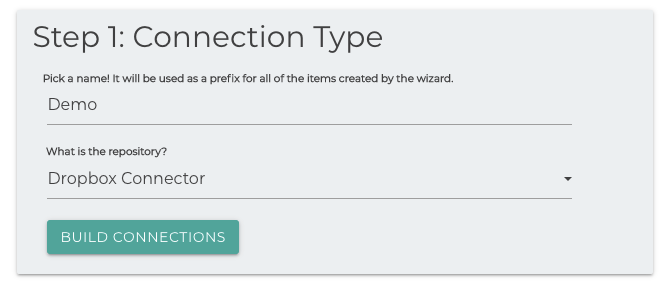
Name your connection prefix. Your connection type will be added to the end of the connector name you chose.
Click Build Connections
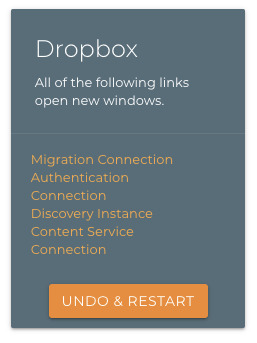
The wizard will create all the connections needed for your integration.
Clicking on the links for your new connections will open them in a new tab for you to add more configurations if needed and gives you the option to test your connections before continuing with your integration.
If you have made a mistake in naming or choice of connector you can click Undo and Restart to begin the process again.
Integration Wizard
With the Integration Wizard you can create source and target repository connections step by step. This wizard will then create a job with some configuration options along the way. Follow the example below to use the Integration Wizard
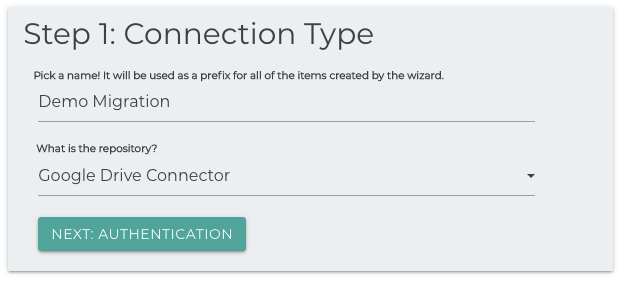
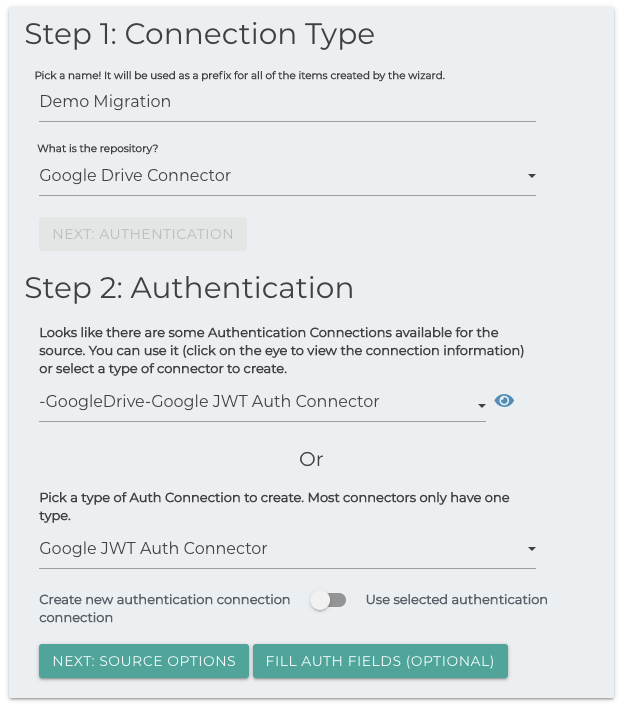
Step 1: Connection Type
Name your repository connection
Choose your repo from the dropdown
Click Next Authentication
Step 2: Authentication
If there is already an authentication connection it will show up in the Authentication Dropdown to choose.
You can either choose the one already in the system by clicking the option Use selected Authentication or create a new one.
To create a new one choose the Authentication Connection type from the dropdown and ensure the slider is set to Create New authentication Connection.
Click the Fill Auth Fields to configure any additional fields. Connection
Click Next: Source Options to continue
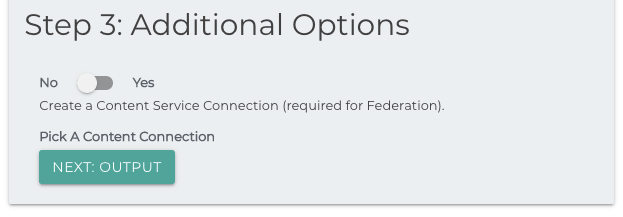
Step 3: Additional Options
In step 3 you will be given additional options to configure depending on the connections available for the software chosen. For example:
- Create a Discovery Instance
- Create a Content Service Connection
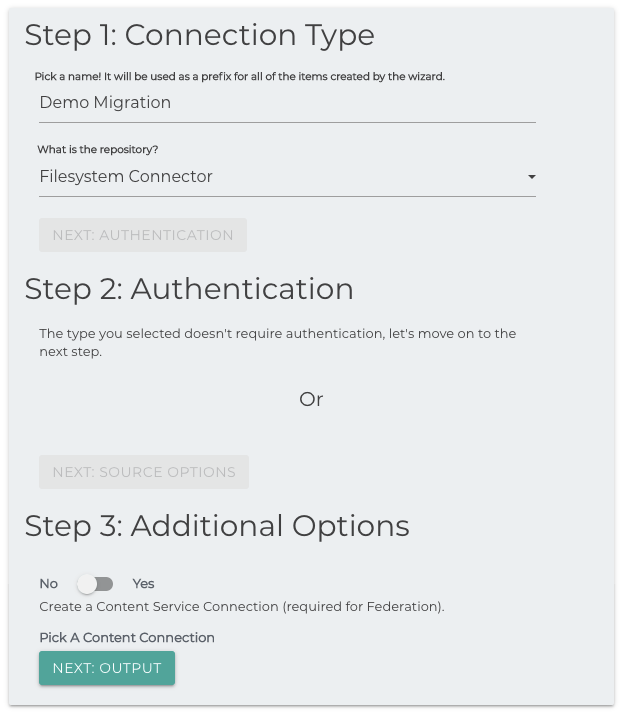
Repeat Steps 1-3 for your Output Repository.
If the software doesn't require authorization the wizard will skip step 2
Click Next Output
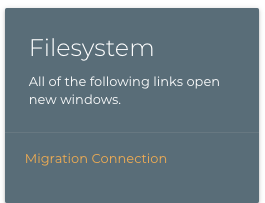
As each connection is built they will be listed in separate boxes on the left. Click on the links to open the connections in a separate tab to view or edit the connections.
The system will use the repository and output integration connections and build an Integration Job

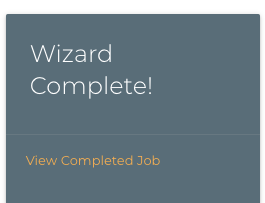
Click on View Completed Job to fill out any additional mappings and/or configurations to the job specifications.
Federation Wizard
The Federation Wizard ia a more specific type of migration, meant to index content into ElasticSearch, Solr, or MongoDB
Following are step-by-step instructions on using the Federation Wizard.
Input Connection
Step 1: Connection Type
Name your repository connection
Choose your repo from the dropdown
Click Next Authentication
Step 2: Authentication
If there is already an authentication connection it will show up in the Auth Dropdown to choose.
You can either choose the one already in the system by clicking the option Use selected Authentication or create a new one.
To create a new one choose the Auth Connection type from the drop-down and ensure the slider is set to Create new authentication Connection.
Click the Fill Auth Fields to configure any additional fields. Connection
Click Next: Source Options to continue
Step 3: Additional Options
Yes is selected to create the content service connection
Click Next: Output
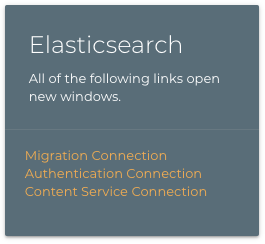
Repeat the above steps to set up your Content Service Connection.

As each connection is built they will be listed in separate boxes on the left. Click on the links to open the connections in a separate tab to view or edit the connections.
The system will use the repository and output integration connections and build an Integration Job


Related Articles:
Simflofy Connection
eSearch Federation
ElasticSearch Connection