How to Install Apache Tomcat on MAC
*It's important to know you need to have Java JDK installed on your system in order to install Tomcat.
Download the Apache Tomcat
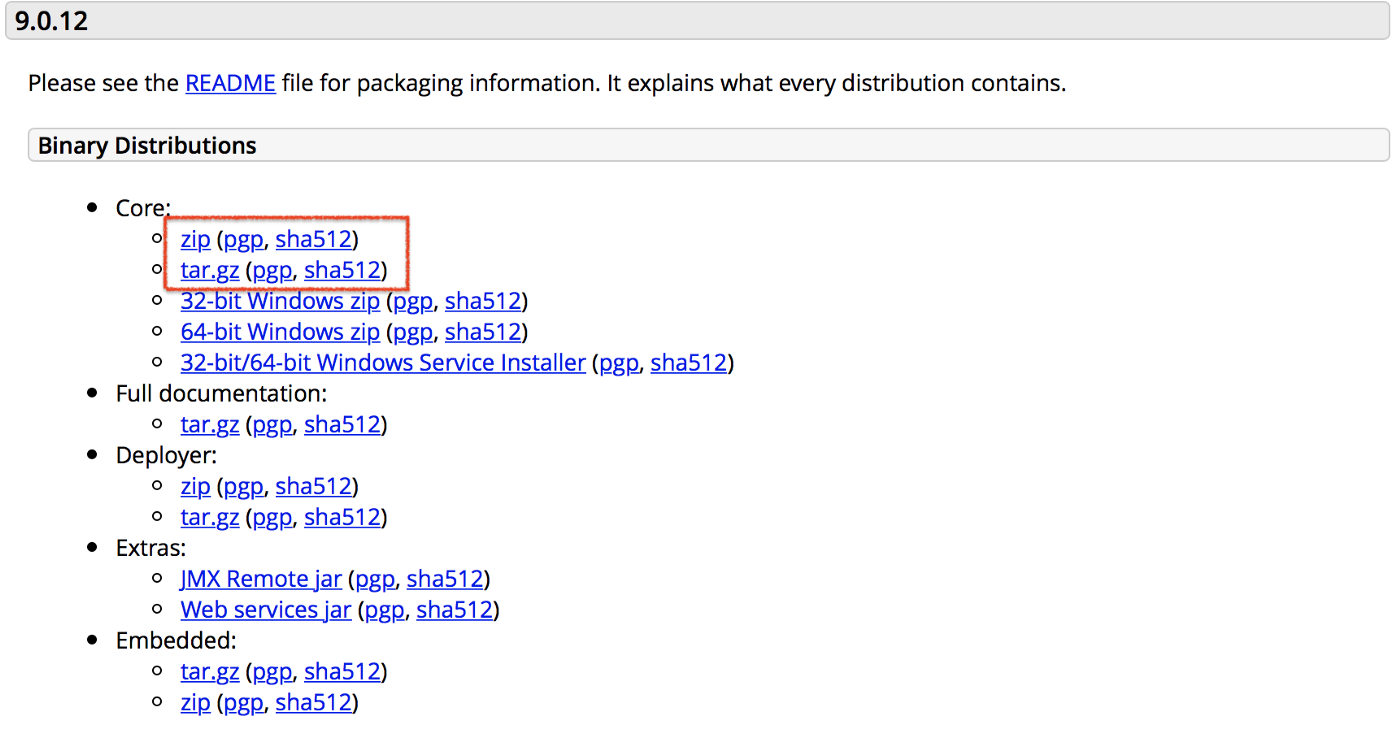
- Visit to Apache Tomcat site

- Download the zip file or tar file

Change the permission
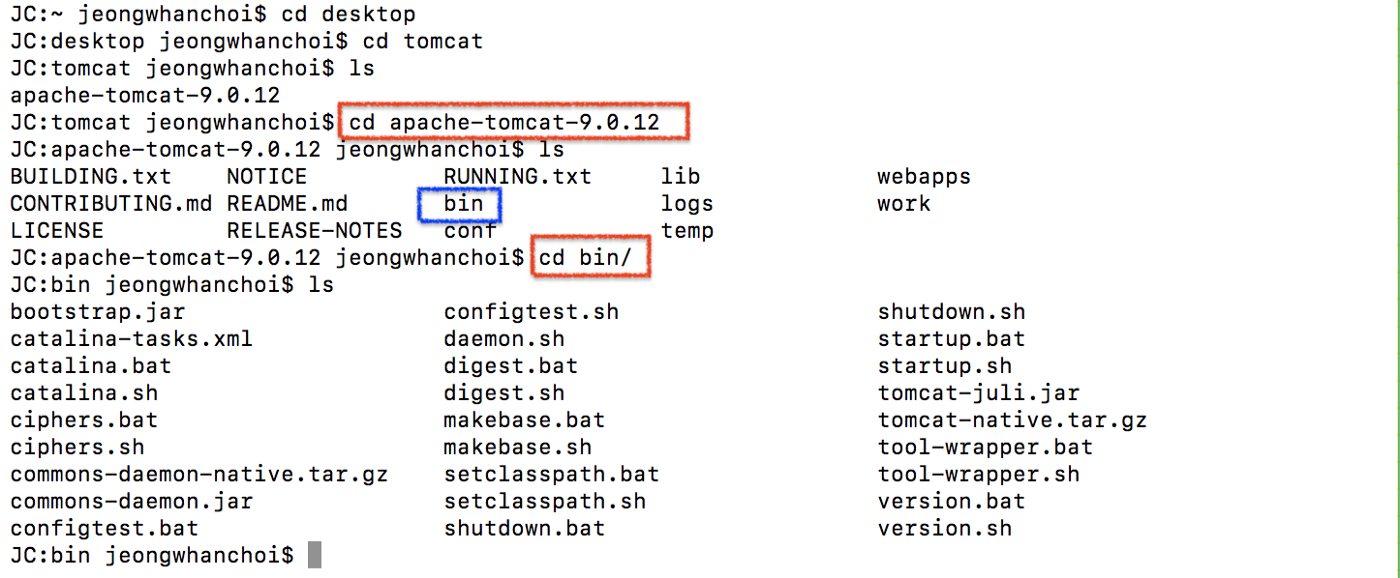
cd apche-tomcat-9.0.12
cd bin/

ls -al *.sh

Make the file executable.
There are no executable permissions for the .sh files. So we will change this permission by changing the permissions of these files. You just need to give a chmod here and then +x.+x is going to make this file executable and what are the files we want to make executable we want to make all .sh files so just give *.sh.
chmod +x *.sh

*Now, you can see there is an x flag added to these files.
Start the Tomcat by startup.sh.
Our purpose, there are two files which are important one is this startup.sh to start the Tomcat and other is the shutdown.sh to shut down the Tomcat server. So, first, you are going to just execute the startup.sh message file, so you just need to just give this come on dot forward slash so just give dot forward and, then startup.sh and this will execute this startup shell script. You can see the last message here, Tomcat started.

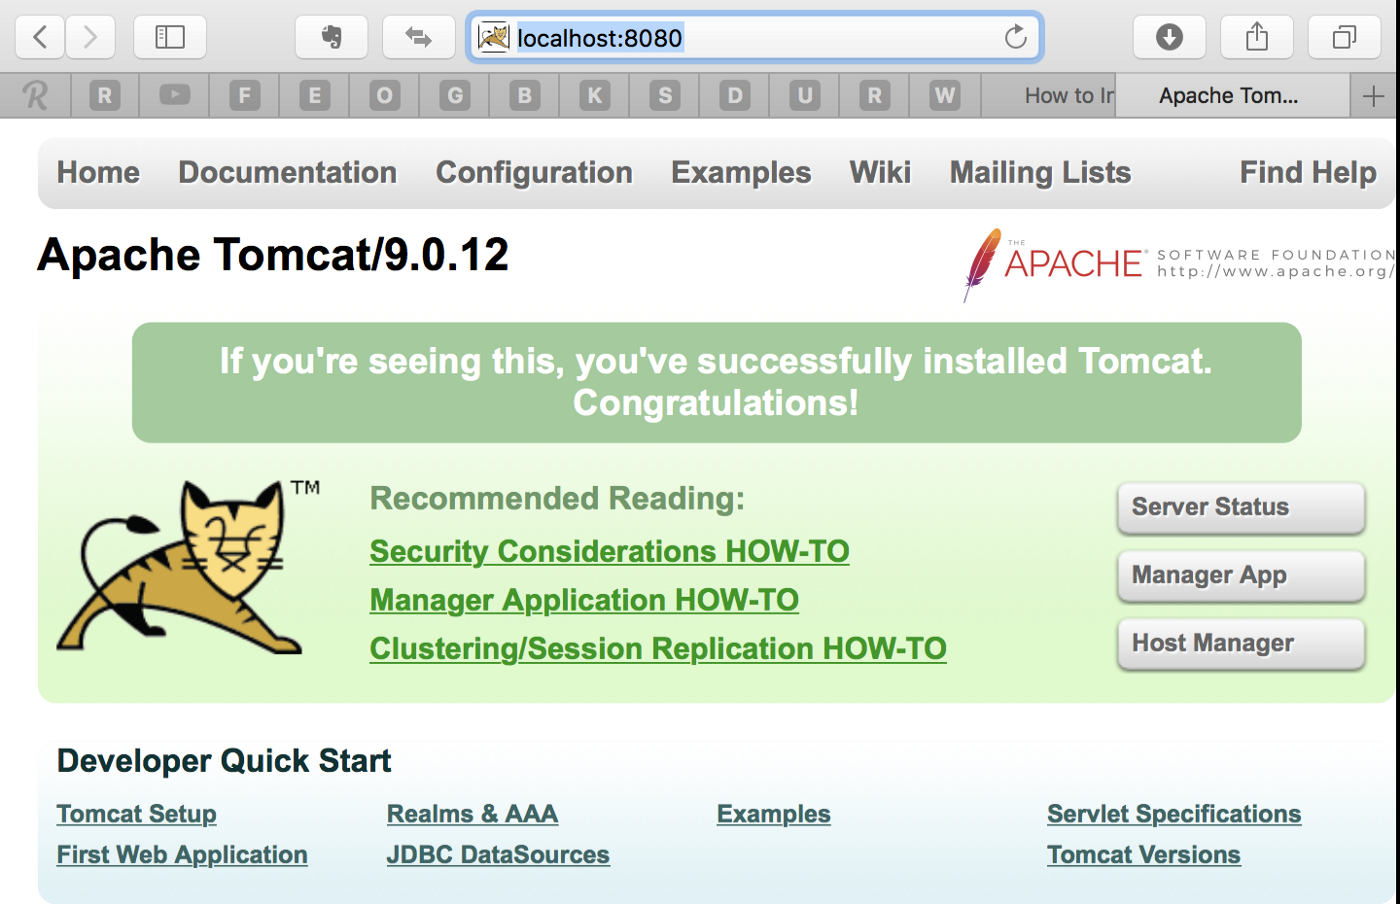
Now how to check whether Tomcat that is properly started or not. I'm going to go to my browser and here I will just write localhost:8080. The port 8080 is the default port for the Tomcat to start.

*You will be able to see this kind of interface and that means your Apache server is running fine.
Stop the server
Now to stop your server you just need to run the stop script, so you just need to write shutdown.sh.

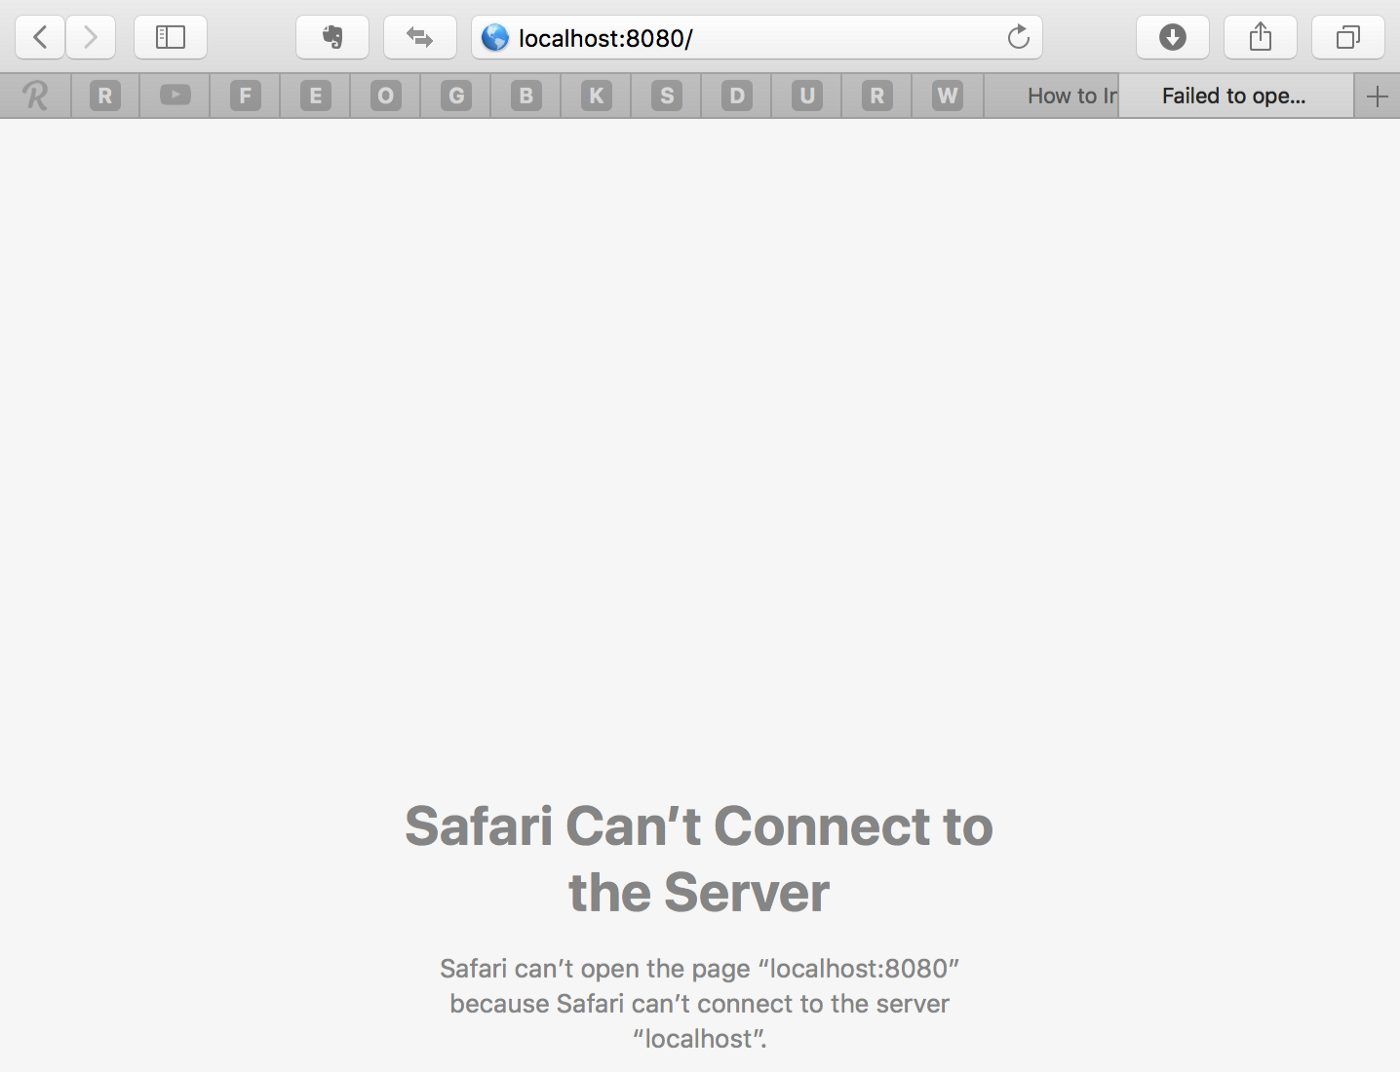
Once you run this and refresh the localhost:8080 page, now nothing is shown here, so our Apache Tomcat server is stopped.

Start the Tomcat
./catalina.sh start

./catalina.sh stop
Move to Library Folder
sudo mv Tomcat/ /Library/
cd /Library/
cd Tomcat /bin/
You have installed Apache Tomcat on your MAC!