Quick Start User Guide
Overview
Once your Simflofy environment has been successfully installed, you are ready to start making connections and executing jobs. This guide will walk you through this process. For this example, we will be using Google Drive as our source (repository) location and Dropbox as our target location (output).
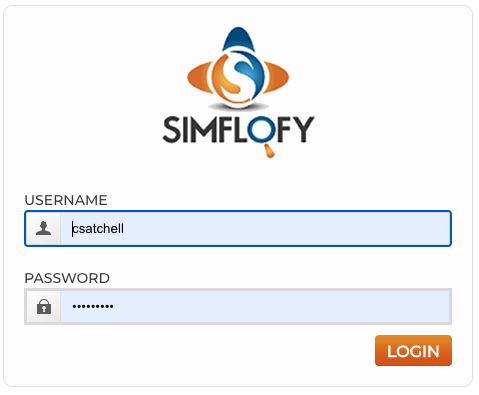
Step 1. Login to your Simflofy environment once all the required components have been installed.
Step 2. Create the repository connection for your source data that you want to transfer.
Step 3.Create your output connection for your target location you want to move your data to.
Step 4. Create a new integration job to sync your two new connections.
Step 5. Create a task to filter your results before moving your data.
Step 6. Map your fields to tell Simflofy where you want the data in each field moved to.
Step 7. Run your new job to begin the data transfer process.
Step 8. View your results to confirm the transfer was successful.
Step 1. Login to your Simflofy environment
To begin using Simflofy, make sure you have all the required software components installed. For installation instructions, see the Simflofy Installation Guide.
Once Simflofy is installed, you are ready to log in and begin setting up jobs to transfer your data.
(Sub-Step 1)
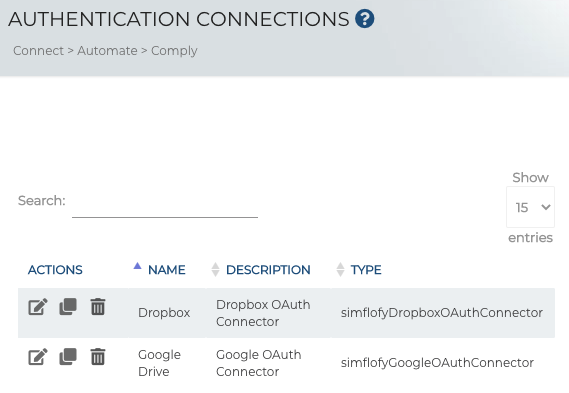
Before we begin, please note that some connections will require authentication before you can create an Integration Connection. The Authentication process can vary from connector to connector. For details on the specific authentication steps for your connectors, see the full Authentication Connection List.
(Sub-Step 2)
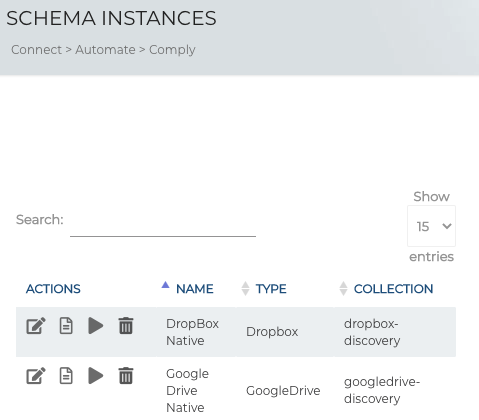
Once Authenticated, you will set up your discovery instance to allow Simflofy to find the field properties in your connected repository for mapping in Step 6. For steps on setting up this instance, see Discovery Schema Instances
NEXT: Create your integration connections.
Step 2. Create your Integration Connections.
Your Integration connections will be the places you want to move your files to and from. First set up your Integration connection for your source repository that you are pulling your files from and then set up one for your output repository that you are moving your files to.
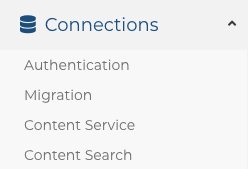
Select Connections from the navigation section on the left
Select Integration Connections
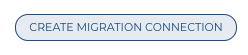
Click the Create Integration Connection button
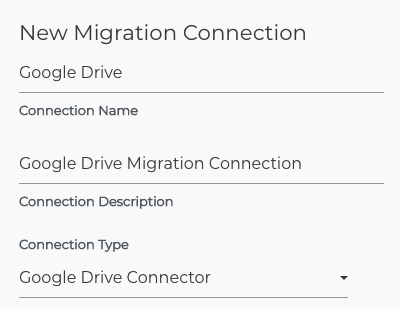
Add the Following
- Connection Name
- Connection Description (Optional)
- Connection Type
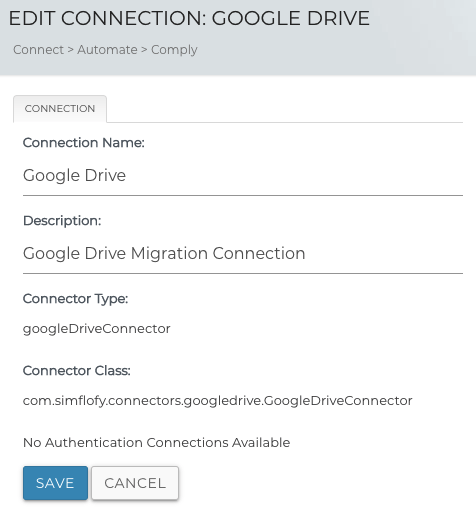
Click Save to continue editing your integration connector

Edit your new Integration Connection
Add the Authentication Connection you created for this connector.
GO TO NEXT STEP: Create your Output Connection.
Step 3. Create your Output Integration Connection:
This will be the location you want to move your files to. Repeat Step 2 for your Output Integration Connection
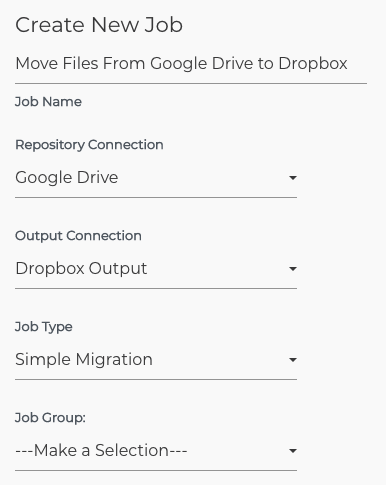
Step 4. Create a new integration job to sync your two new connections.
This process will allow simflofy to connect the two systems and move your data from one location to another.
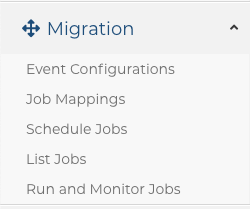
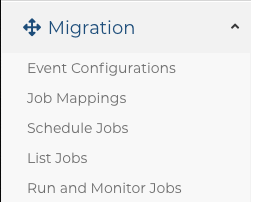
Click Integration in the navigation
Select List Jobs
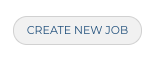
Click the Create New Job button
Add the following:
Give your job a descriptive Job Name
Select your Repository Connection
Select your Output Connection
Leave the Job type as Simple Migration
Click Save
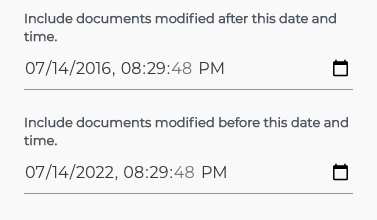
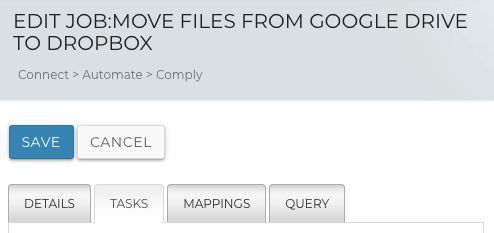
View your new job edit page.
Edit the start and end dates and times to filter for the documents in your repository connection that were created within that time period.
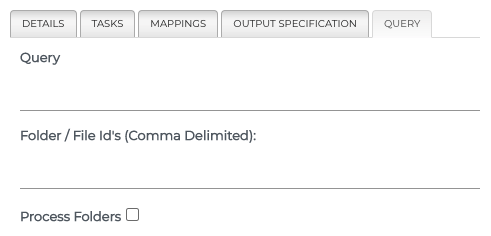
Repository Specifications: This tab will vary depending on the connector.
Click on the Query Tab if there is one and add the Google Drive folder ID. This can be found after the last slash "/"in the url for the folder.
Leave Query blank and leave process folders unchecked.
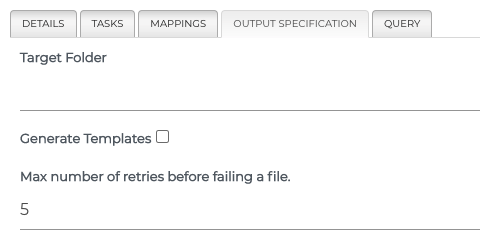
Output Specifications: This tab will vary depending on the connector
Click on the Output Specifications Tab and enter your Target Folder.
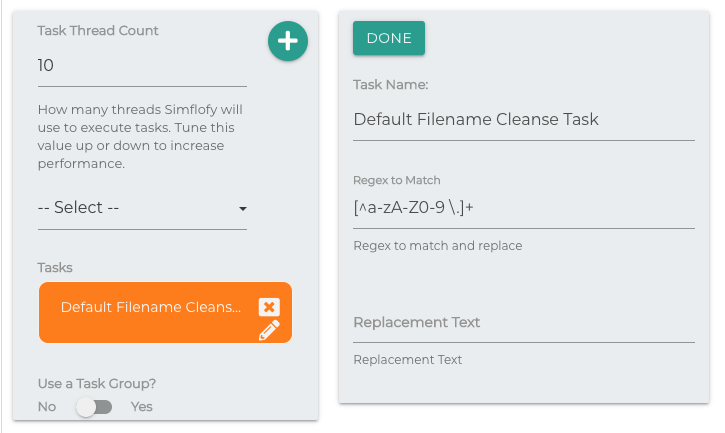
Step 5. Create a task
Among other things, tasks will allow you to filter your documents, so you only bring over the data you need. You can also use tasks to check for duplicates among other useful filters. To see the list of available tasks, see the Complete Jobs Task list.
In your saved job edit page click the TASKS tab.
Select the task you would like to add from the list dropdown.
Click the green plus sign to add the task. Fill in the necessary configurations for that specific task.
Click DONE to add the task to the job.
Step 6. Map your fields
This will tell Simflofy which data property fields from one location match the property fields in the other location.
From the edit job page click the mappings tab

Select Manual in the Mapping Type drop-down and add the following.

Select your Repository Discovery
Select drive_file as the Repository Type
Select your Output Discovery
Select file as your output type Select the source field Select the target field Click on the blue plus button to add to the mapping
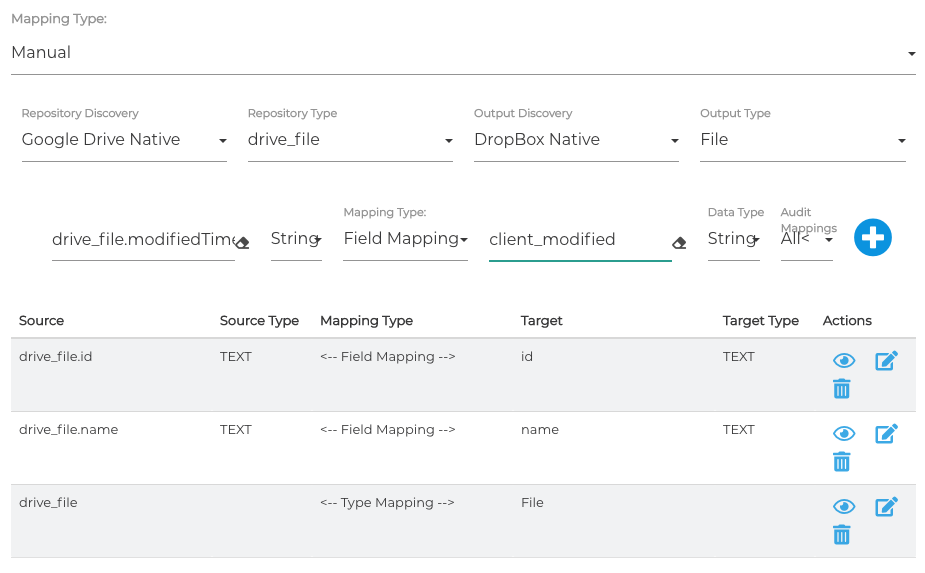
Click Save at the top of the page

Step 7. Run your new job
From the navigation section on the left, click Integration to expand the section and select Run and Monitor Jobs
Click the Play button to the left of your new job to begin transferring files.

Click the REFRESH button to see the progress of your integration. You can also set the auto refresh time periods to 30 seconds, 1 minute, 5 minutes.

Step 8. View your Integration results
Once the integration job is complete, you can view your results. This shows that all the files have been successfully integrated from one system to the other. If you log into your target repository you will see these files have been added successfully.

Congratulations! You have successfully created your first Integration Job.
Related Articles: