Creating an RM Dashboard
This tutorial assumes that the Widget Definition for the following widgets have already been added.
This requires Simflofy to have been started with the property simflofy.initialize.bootstrap being set to true, which is the default.
The following steps will walk you through creating an RM Dashboard
1. Create an RM Dashboard Widget Instance
This widget will eventually be a tab that lists all records based on your searches.
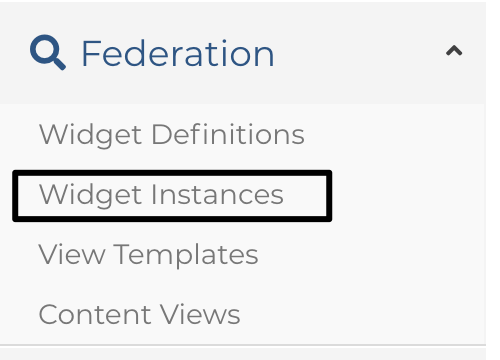
Go to the Widget Instances page under the Federation header
Click the Create New Widget Instance Button.
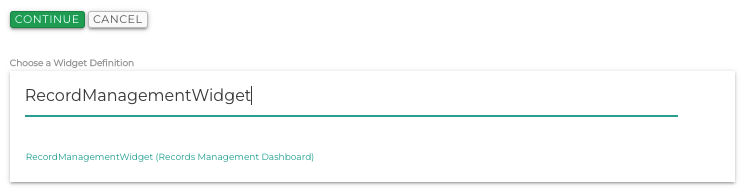
Search for RecordManagementWidget in the dropdown and click Continue
Enter the following field configurations:
- Field: isRM
- Label: Record List
Leave the other fields as is.
Click Save
note
A deeper explanation of what these fields mean can be found on the Widgets page.
2. Create a Record Tree Widget Instance
Click the Create New Widget Instance Button.
Search for RecordTreeWidget in the
dropdown and click Continue.
Fill in the following configurations.
- Field: isRM
- Label: File Plans
- isActive: true
Click Save
3. Create a Bulk Record Widget Instance
Click the Create New Widget Instance Button.
Search for BulkRecordWidget in the dropdown and click Continue.
- Field: na
- Label: Download Selected
4. Create an RM Search Widget Instance
Click the Create New Widget Instance Button.
Search for RMSearchWidget in the dropdown and click Continue.
- Field: na
- maxRecords: 100
- isActive: true
5. Create an RM Event Widget Instance
Click the Create New Widget Instance Button. Search for RMEventWidget.
- Widget Definition: RMEventWidget
- Field: na
- Label: RM Events
6. Create an RM Content View
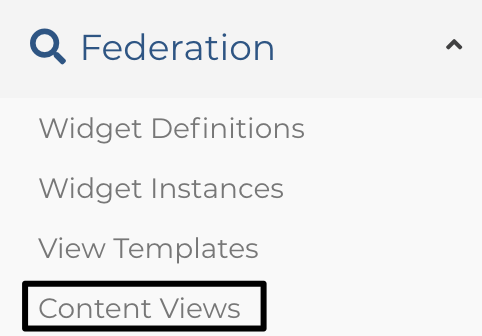
Go to Content Views under Federation.
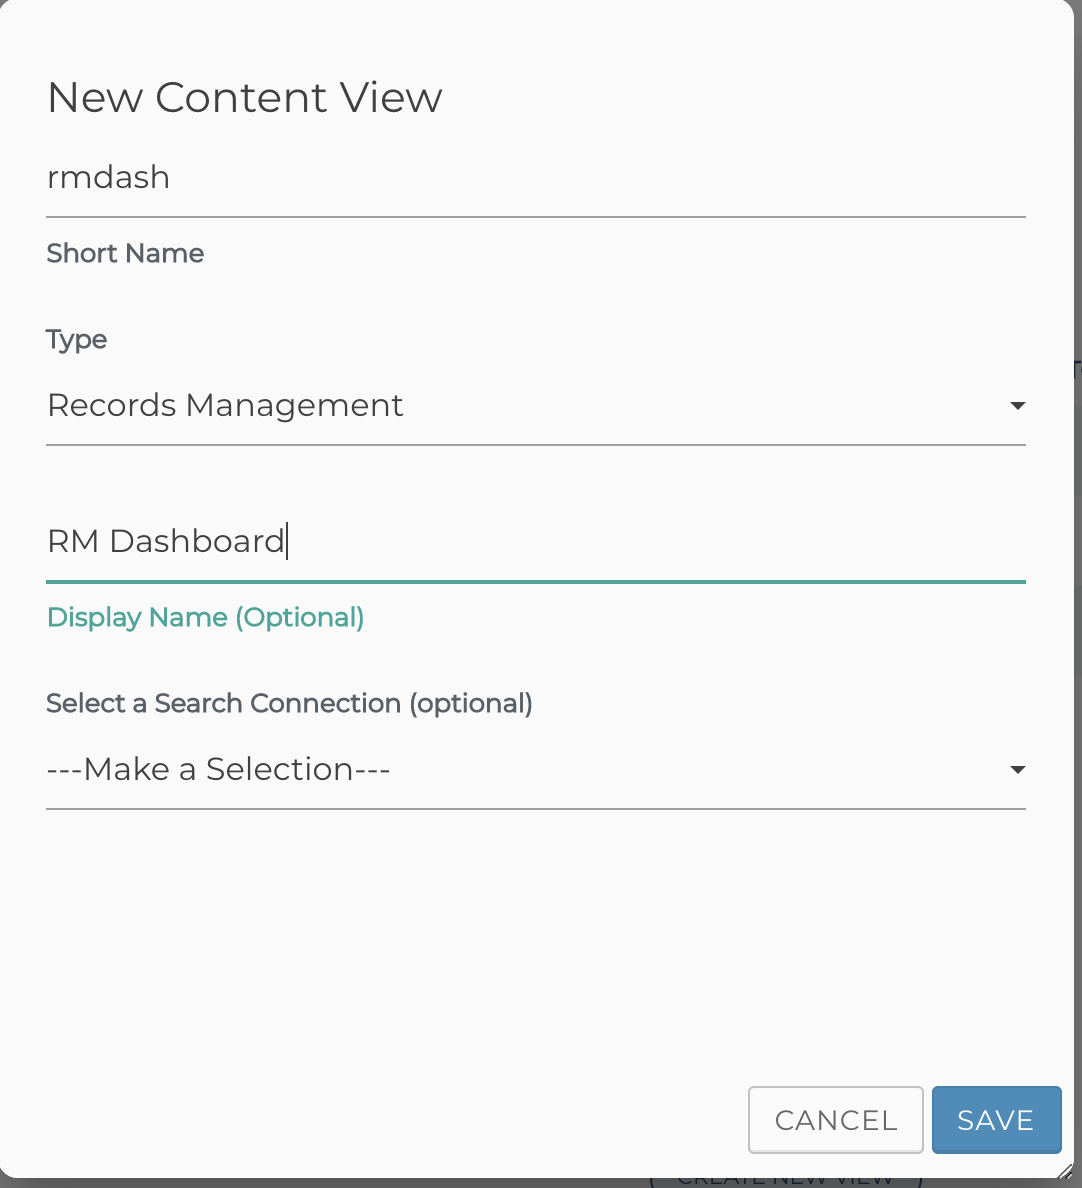
Click the Create New Content View button. Fill in the following configurations.
Short Name: rm
Type: Records Management
Select a Search Connector: Select your Content Search Connector
Click Save.
7. Configure the Content View
From the Edit RM page, configure as follows.
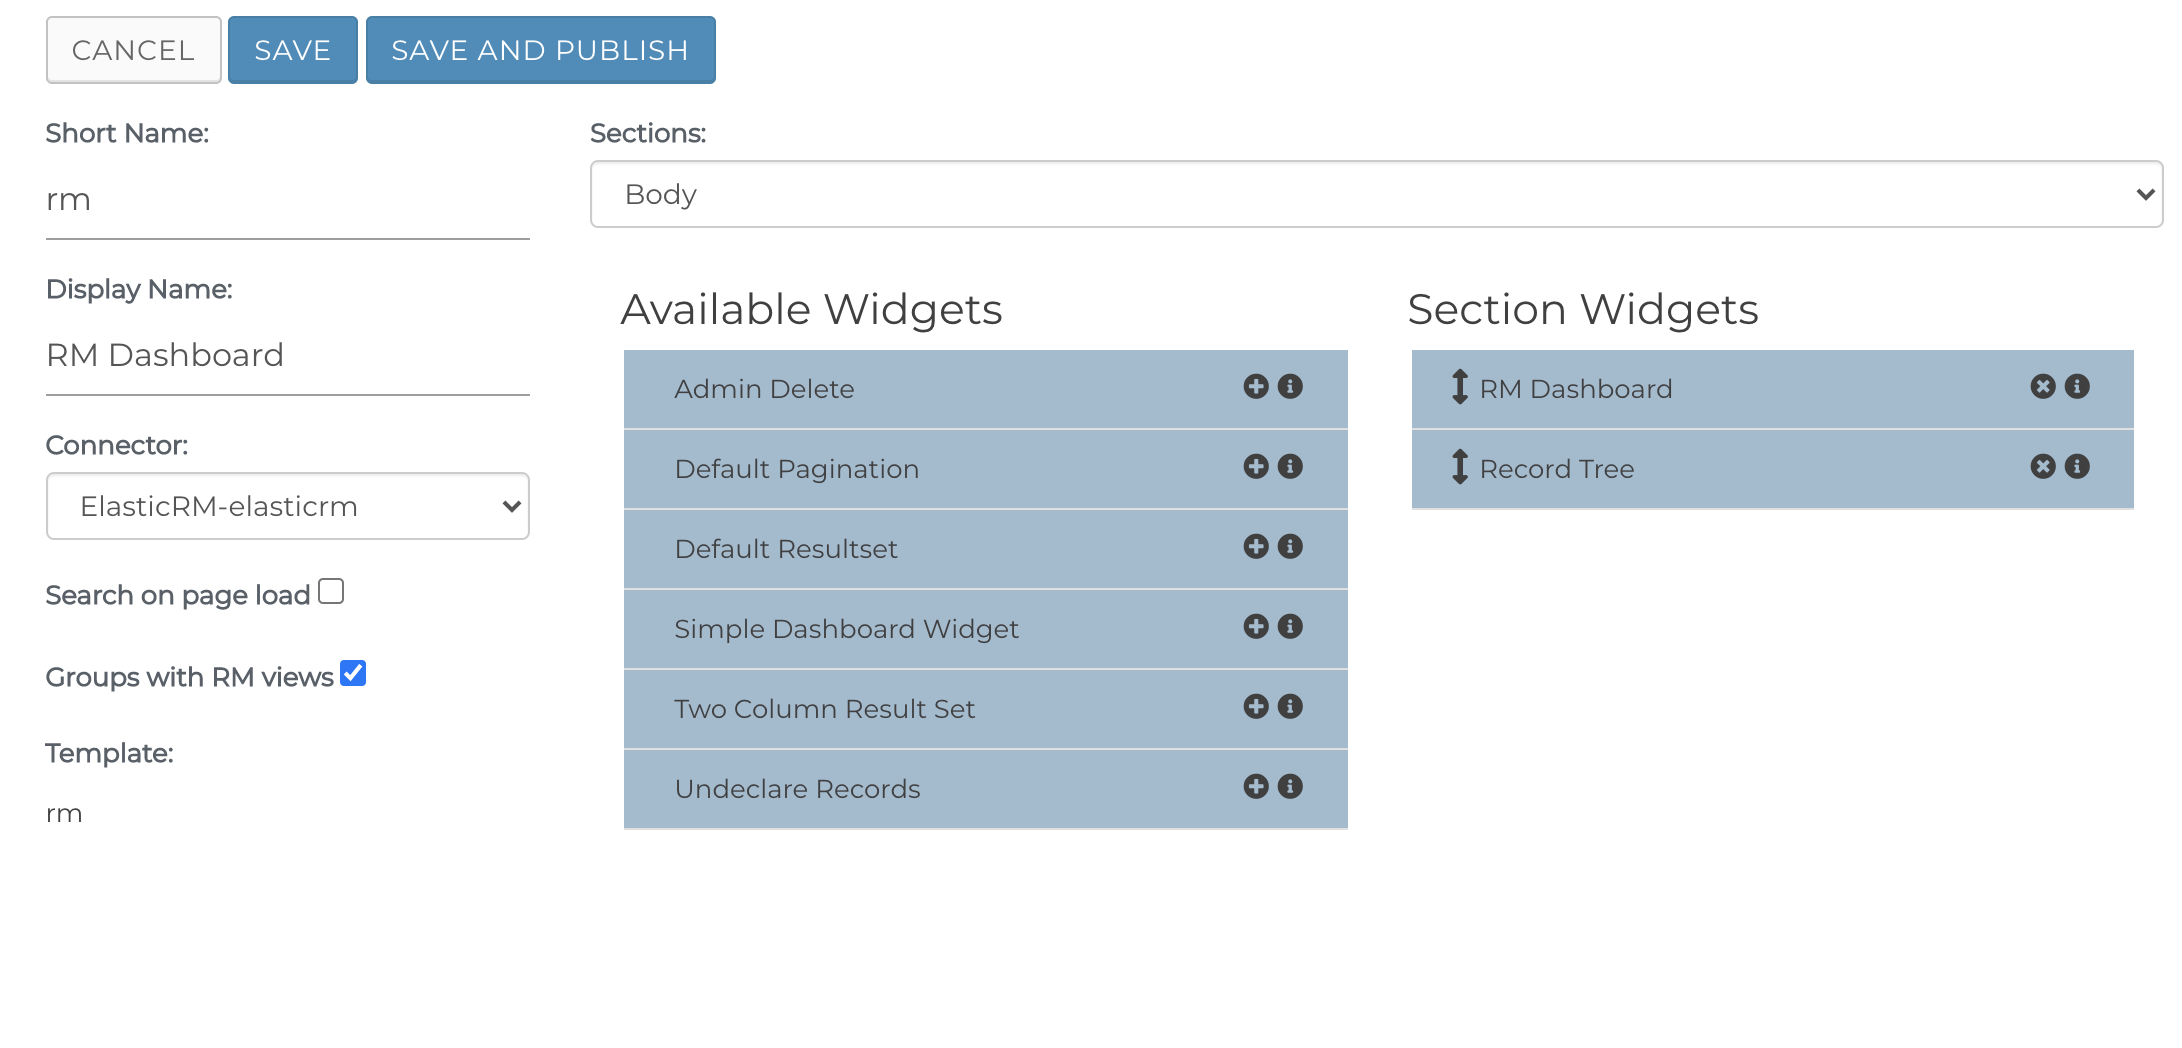
View Builder Tab
Select Body from the Sections dropdown and add the dashboard, record tree, and events widgets by clicking the plus signs.
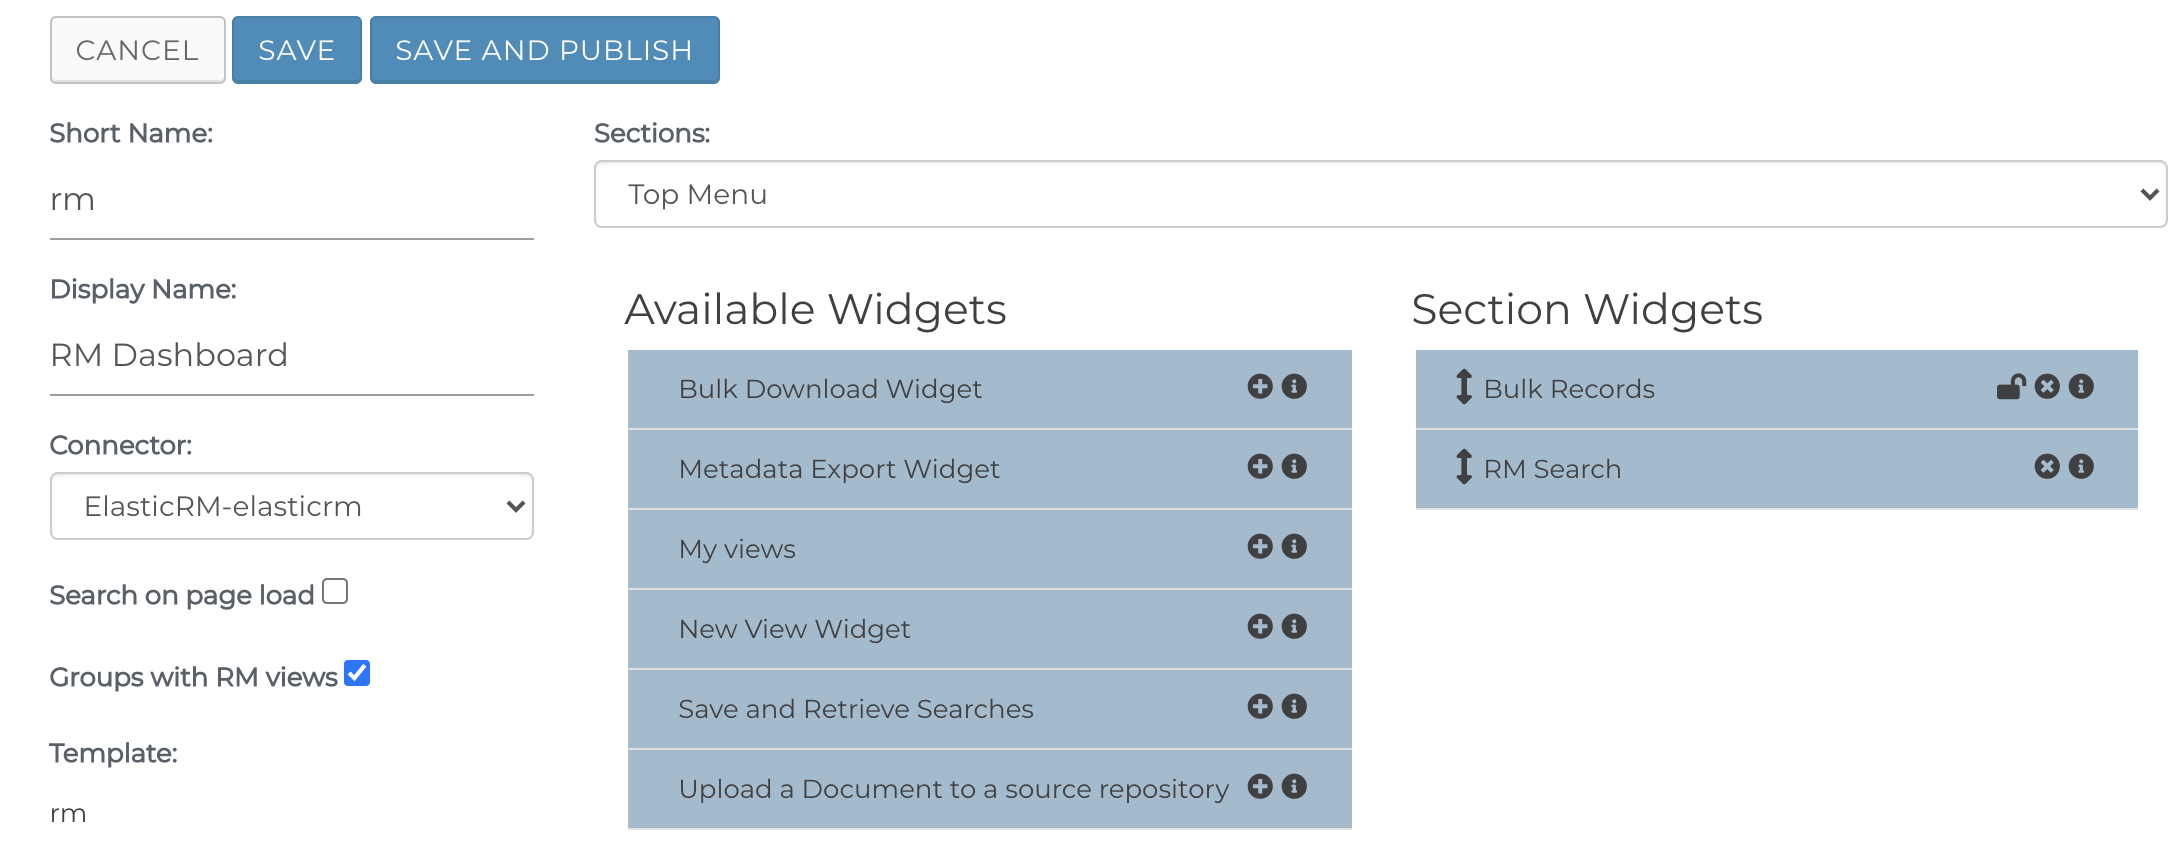
Select Top Menu from the Sections dropdown and add the Search and Bulk Records widget to the top list.
Configuration Tab
Uncheck Search on page load. If you want this view to be grouped separately on the Federation Dashboard, check Group with RM Views.
8. Publish The Content View
Click Save and Publish. Publishing is required for all changes to a view, including updates to the Search Connector associated with the view. You can also publish from the Content Views page.