User Groups
User groups are collections of users. They can be used as part of View Level Permissions or Document Level Security.
- While adding users you will be able to see their first name, last name, login and role.
- Simflofy Admins will be able to see all users
- Org admins will only be able to see users from their org.
- Includes the ability to search all users
Example: Setting up user group security with Simflofy search
This tutorial will only function if TSearch is set to use Passthrough credentials. IE, the user's TSearch login information will also be used to authenticate to Simflofy.
In this tutorial you will learn how to secure your TSearch's views for specific users groups in Simflofy. The overall plan is to index a collection of files, and only allow certain user groups to see certain types of files.
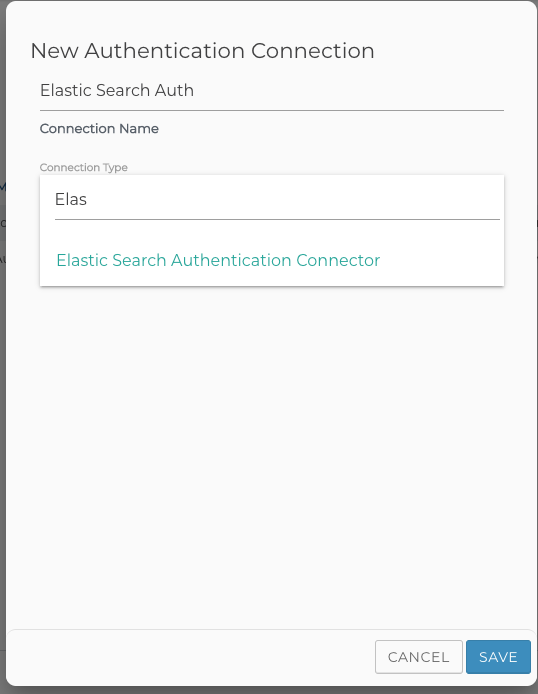
1) Create the Elasticsearch connection
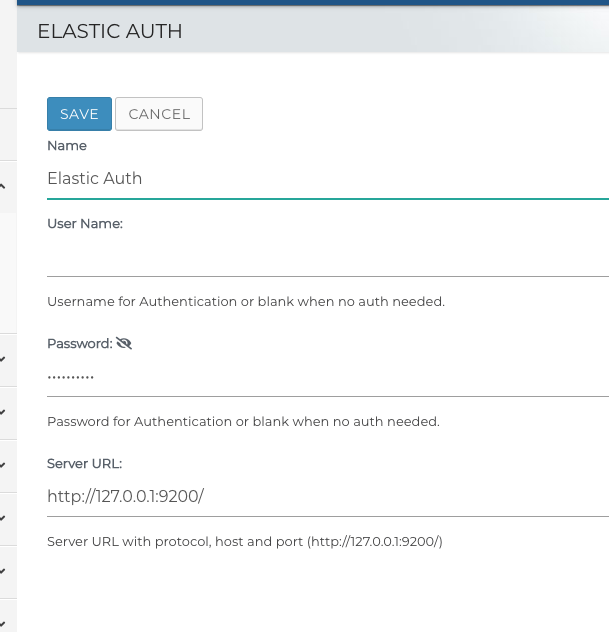
First, we need an Authentication Connection. Select Authentication under Connections, and click Create new Authentication Connection. We'll be using the default settings for Elastic (not authentication) in this case.
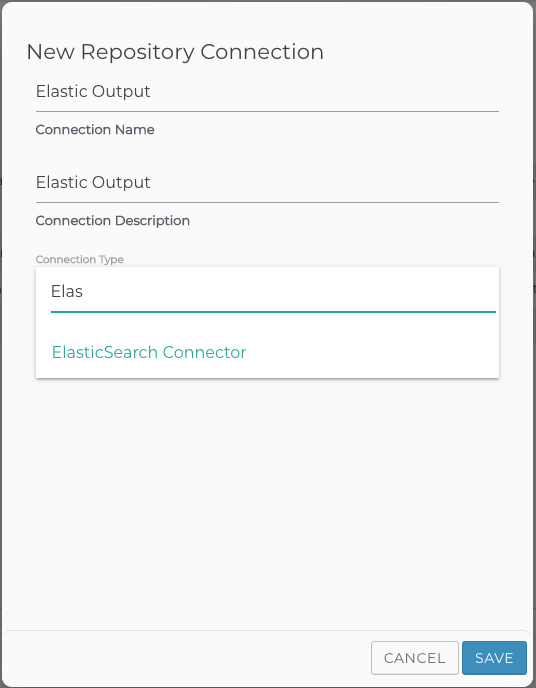
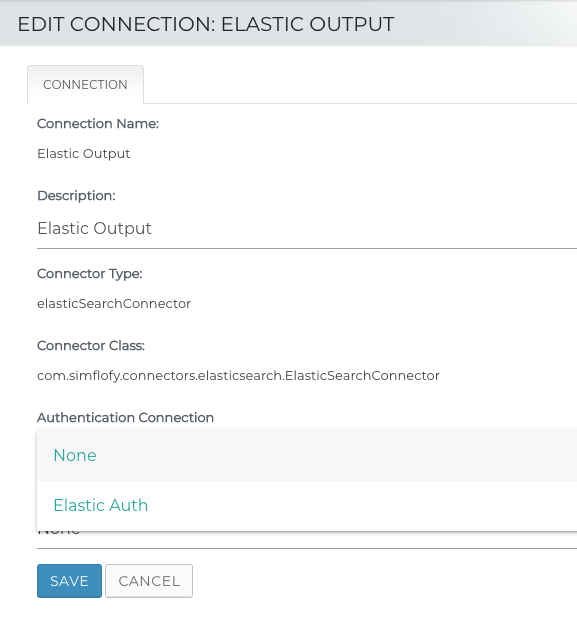
Select Integration under Connections and create an ElasticSearch connection for indexing, then, set the authentication connection.
2) Creating Filesystem connections
Creating a filesystem connection doesn't require an auth connections.
Repeat step 1), then under Connections, click Content Services and Create New Content Service Connection.
Set its type to Filesystem and set the Root Folder to location of the files to index.
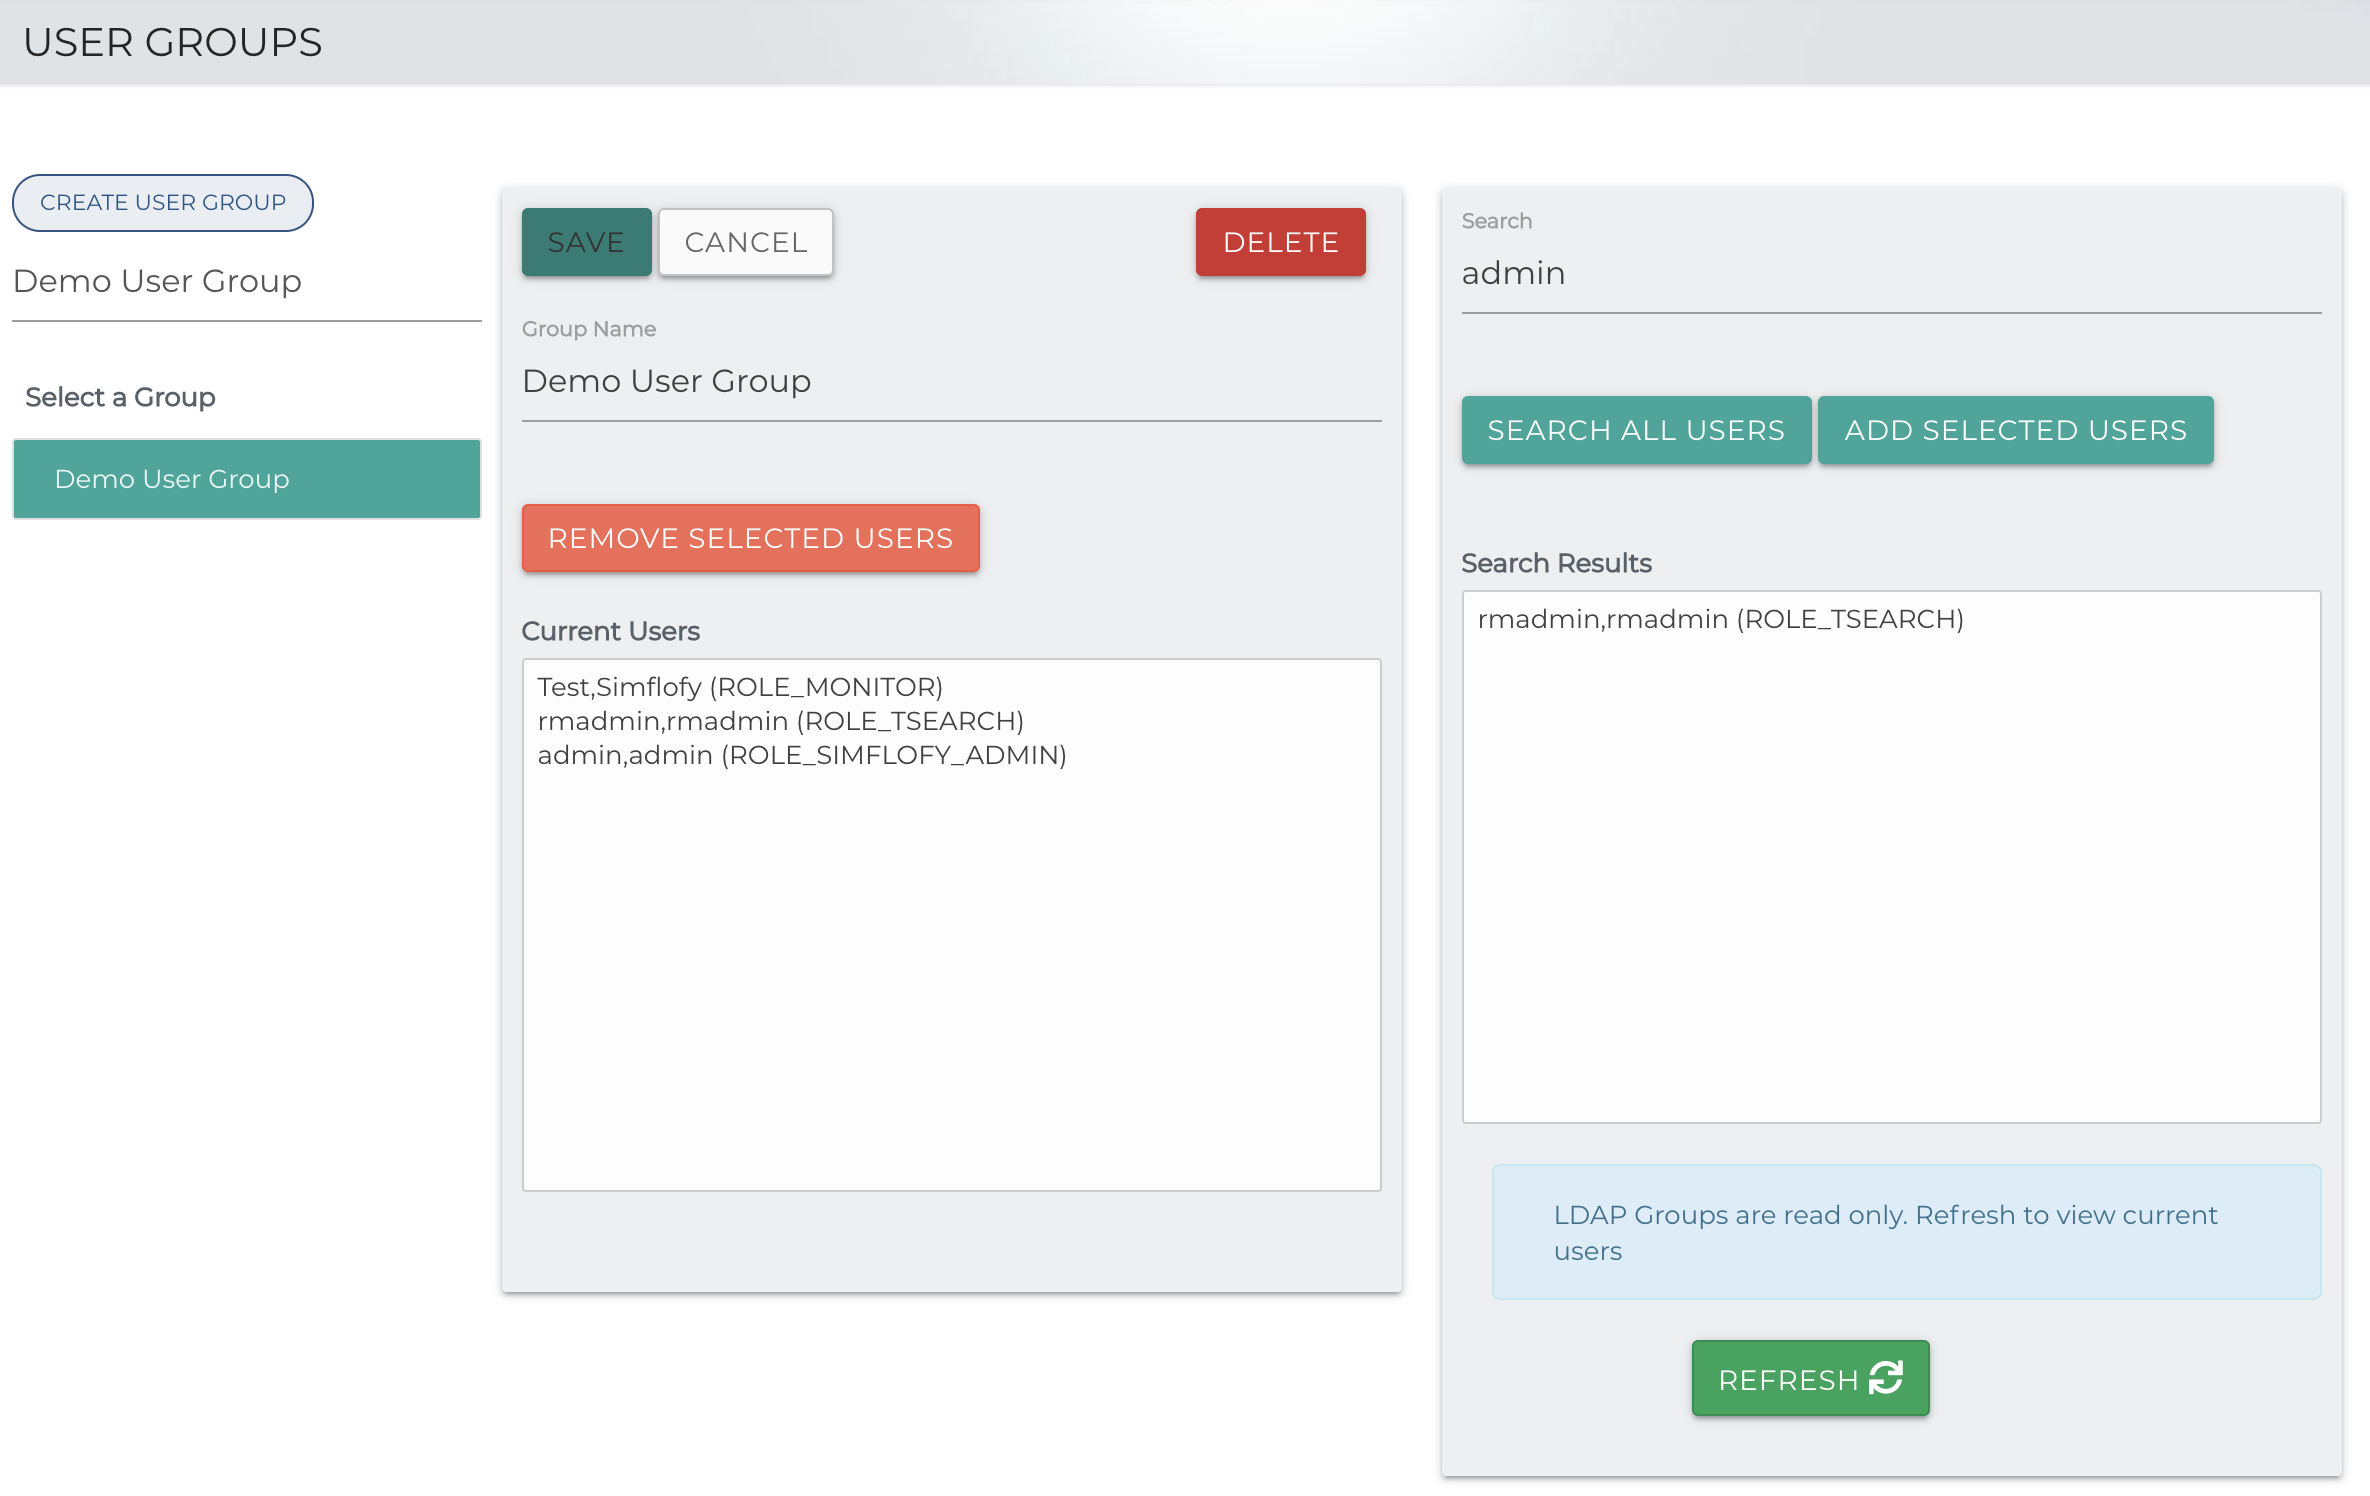
3) Creating the user groups
In this case, we will have these users.
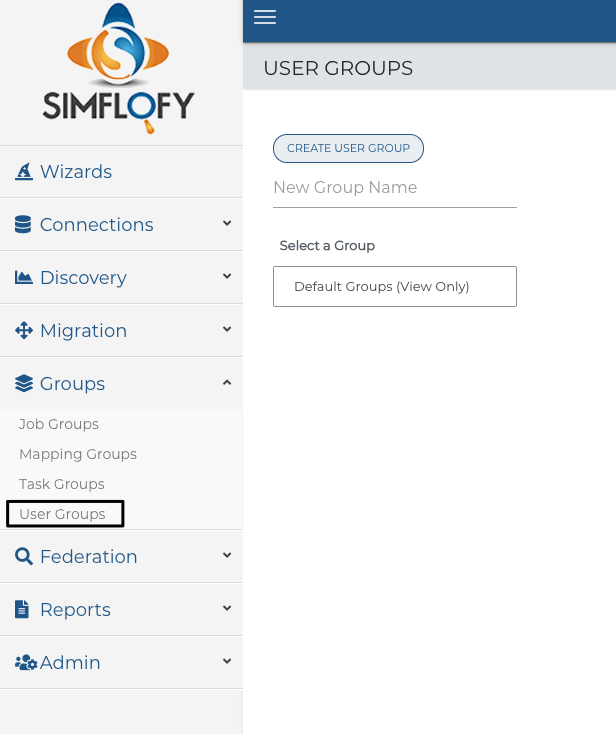
Now, we'll create our groups. Go to User Groups
We'll create a group of users who can only view pdfs and a group that can only view non-pdfs.
AND
If you don't see the user you want to add in the presented list, you can click SEARCH ALL USERS. You can multiselect from this menu.
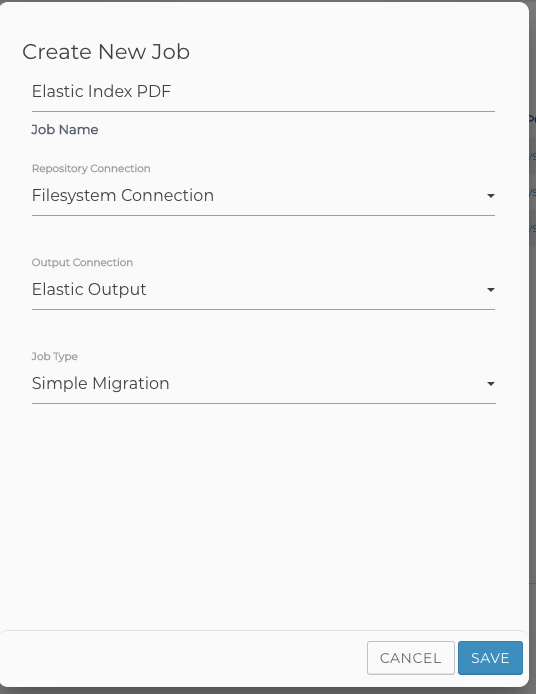
4) Create the Indexing Jobs
Under the Integration menu, click List Jobs, then Create New Job. We'll assume there's a filesystem connection.
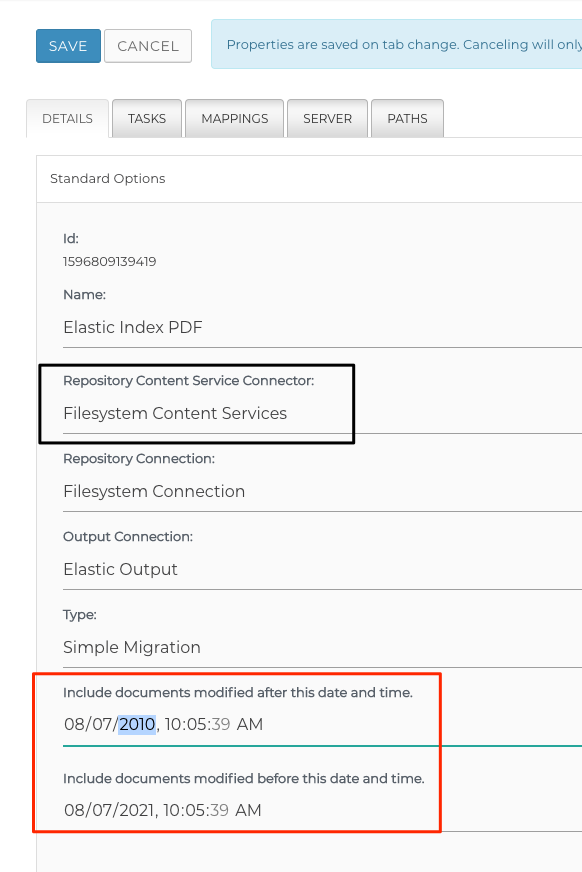
Set the content service connection (black), then make sure the start and end times are set (red). Files are picked up if their last modified date is between these times
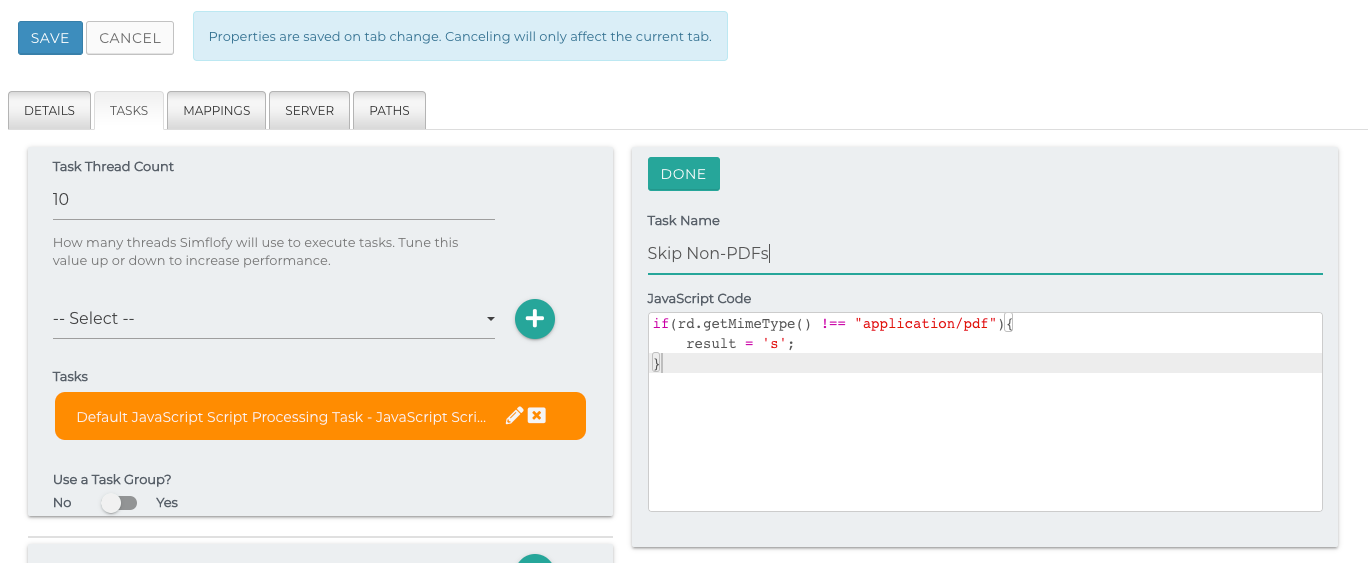
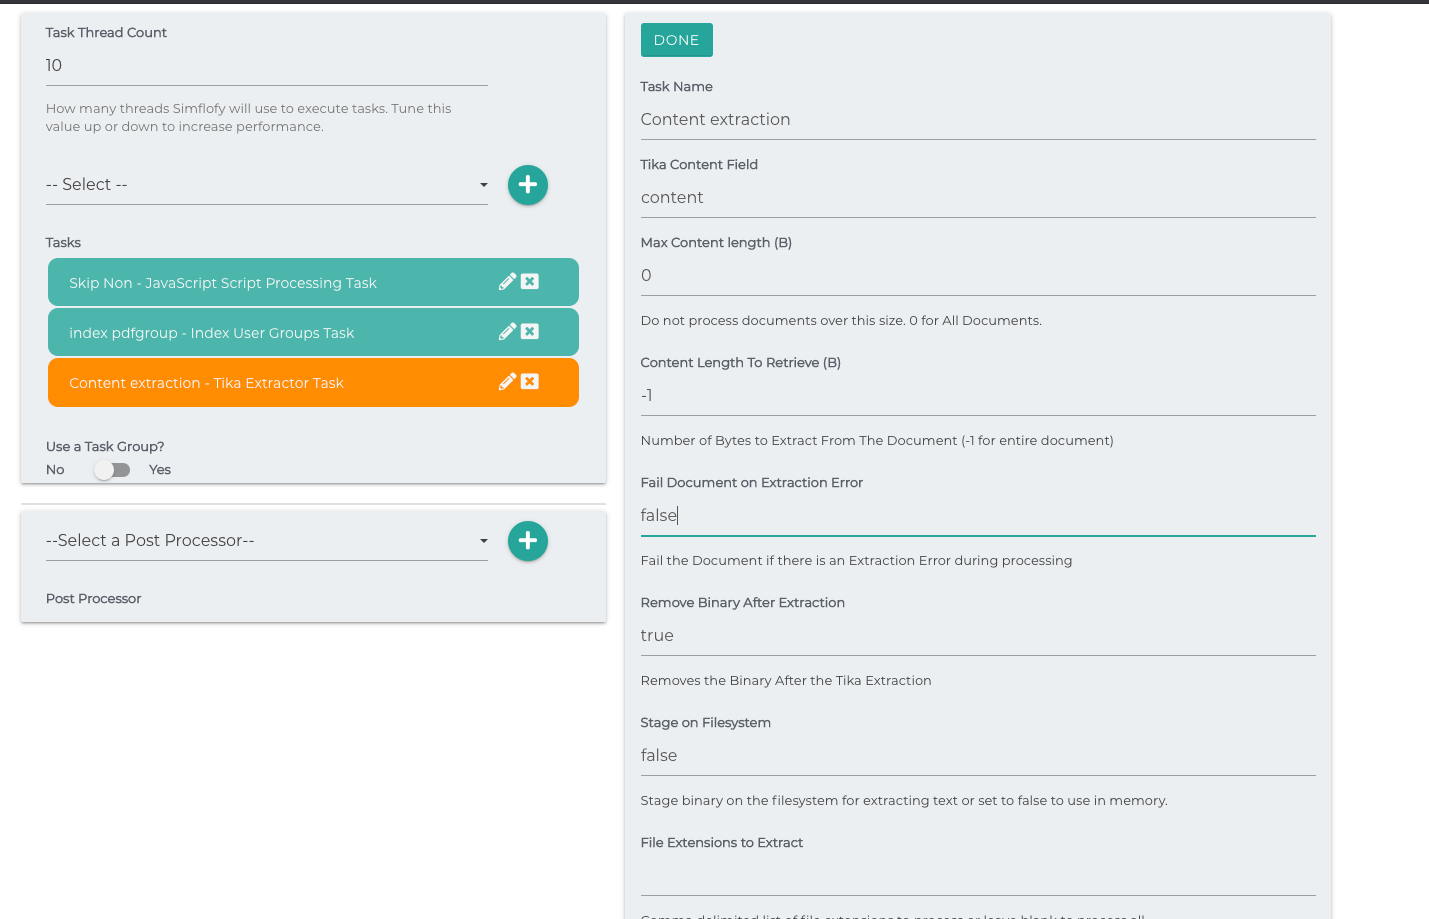
Under tasks. Add a JavaScript task to skip non-pdf files.
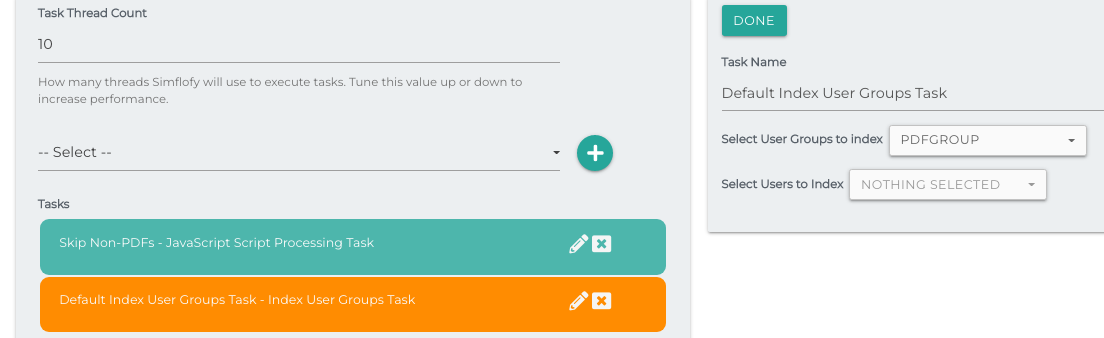
Now add a task to index user group information. Each document will receive a field that contains the listed user groups. Make sure to remember the index field.
Finally, add the content extraction task. Default values are fine
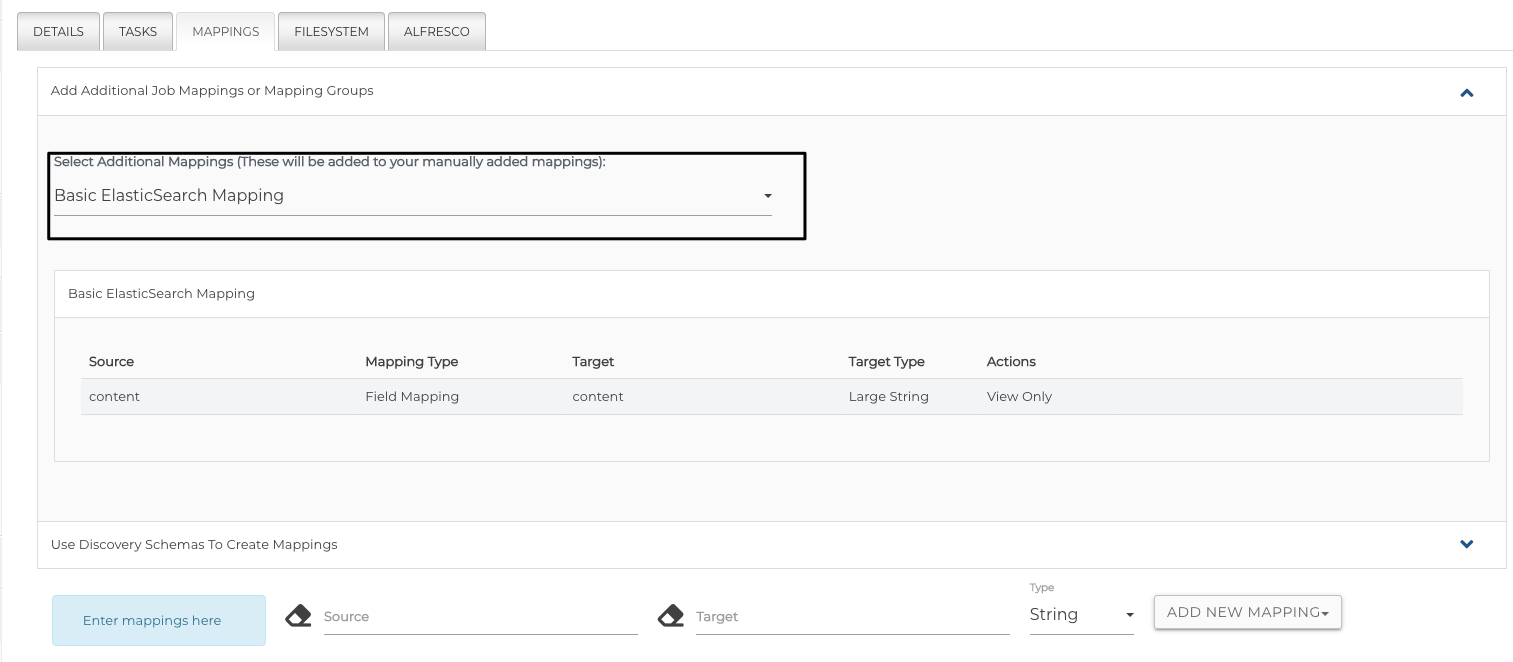
Add the following mapping in the mappings tab.
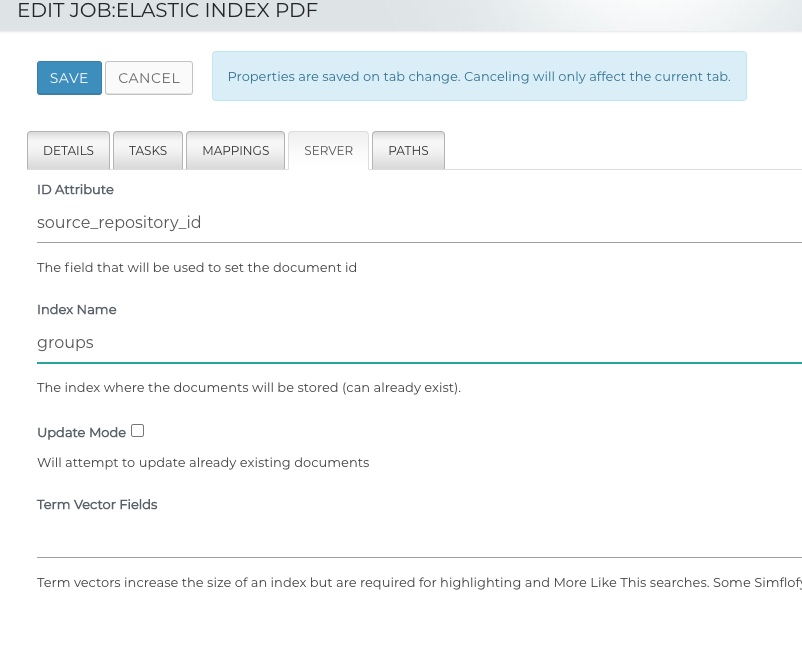
The ElasticSearch specification used can be seen below. Name the index whatever you wish.
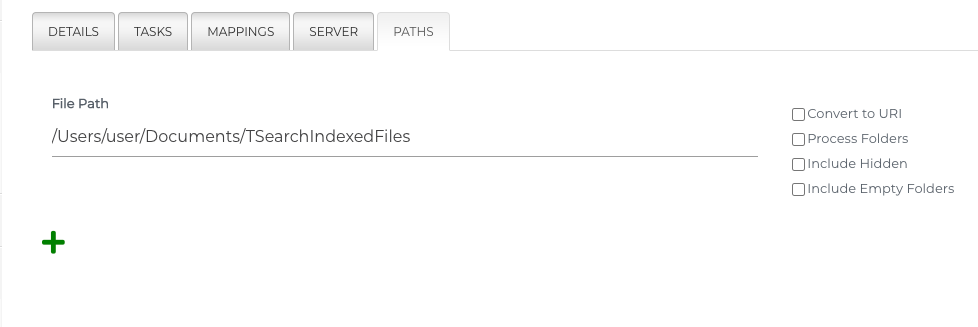
Set the path to the location of the files to index (same as in the Content Service Connection)
In order to create the non-pdf indexing job, simply copy the job and update the javascript task !== to ===. This will skip pdfs. Also change the user group to index in the Index User Groups task to your non-pdf group.
Now, run the jobs.

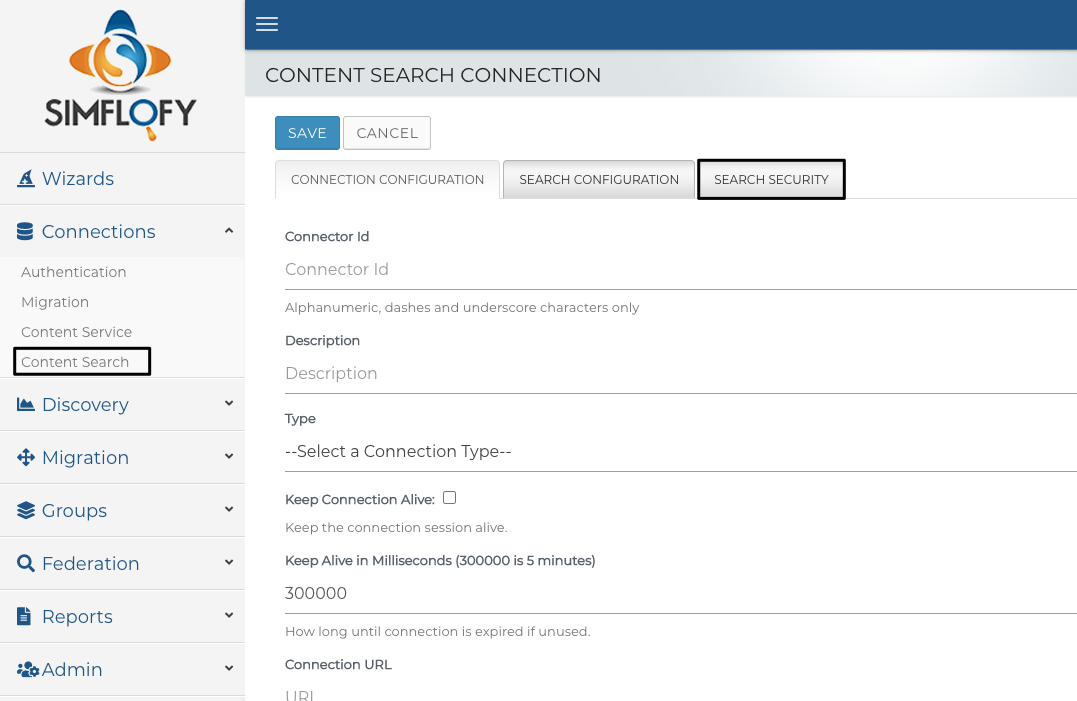
5) Search Connections
Now, we'll create search connections and set the security filters.
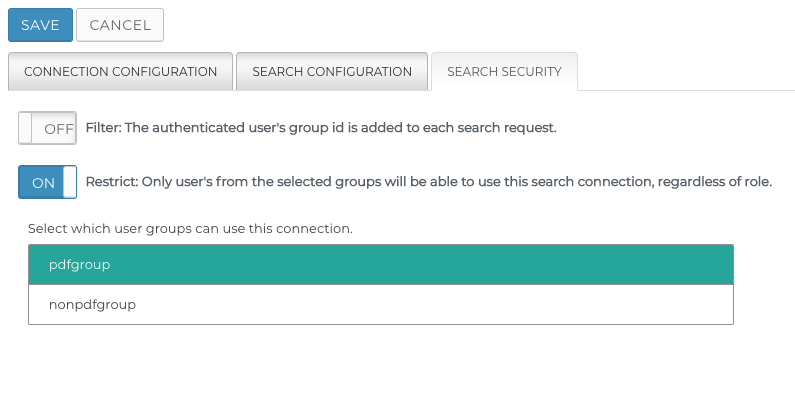
Now, we set the filter to use the field we indexed. Simflofy will add the searching users ID to the search query, and only return results they can see.

You can also restrict this connection to a user group.
Users not in the selected groups will not be able to access TSearch Views using this connection or use this connection for searches.
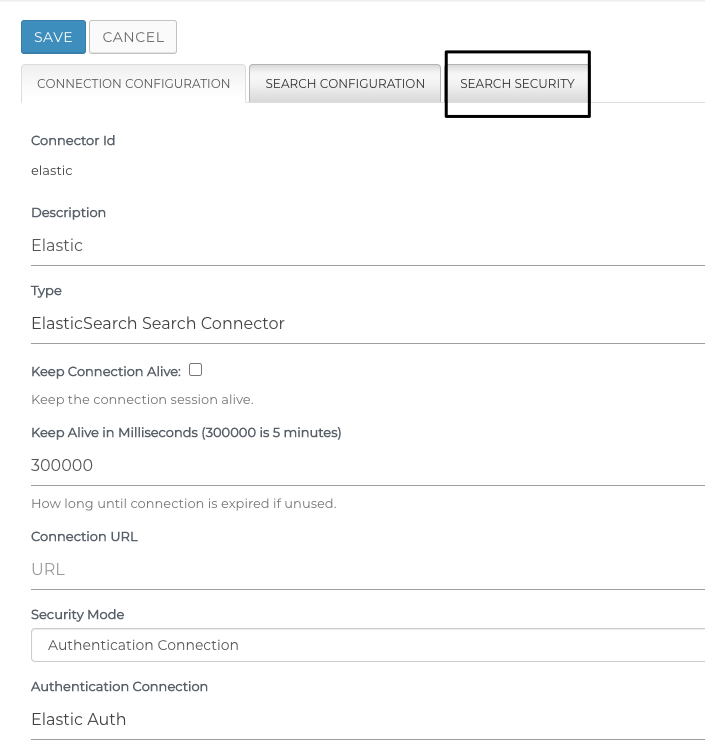
Now, we'll see the connection to search the index we created.

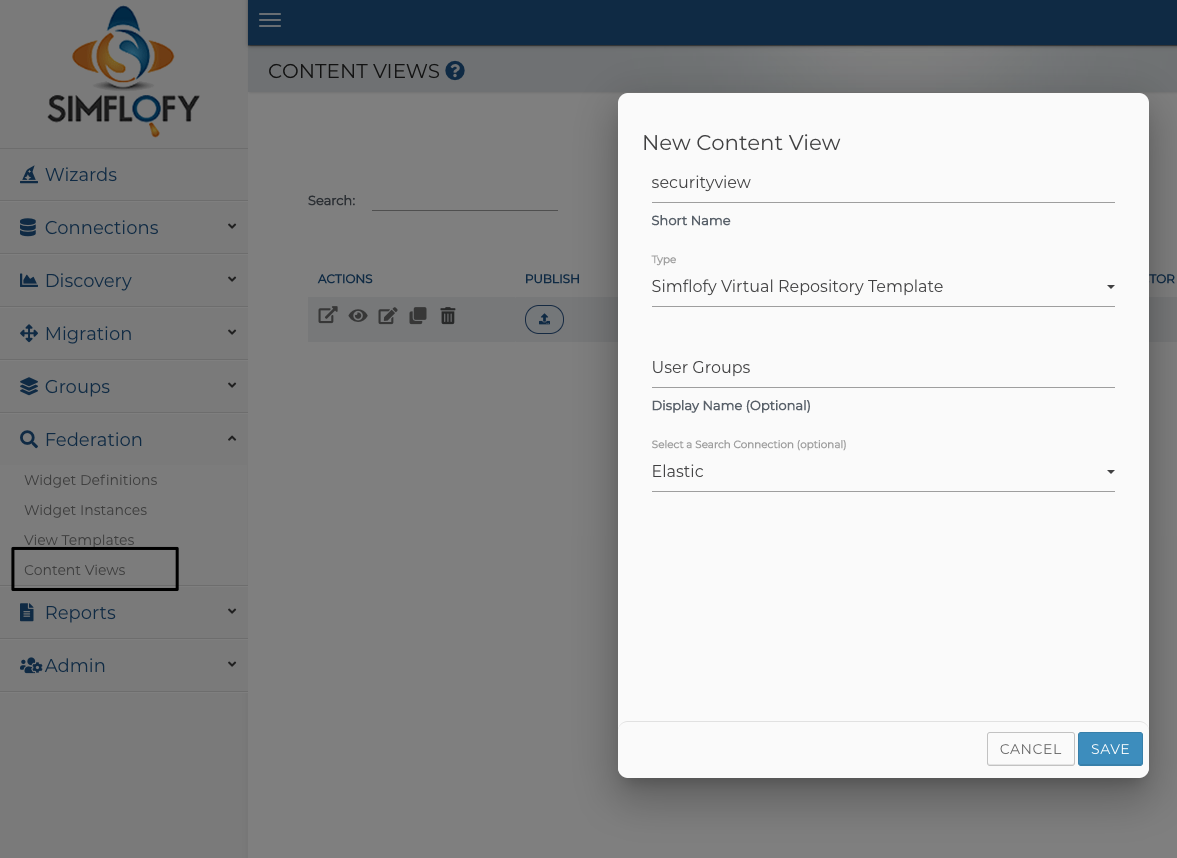
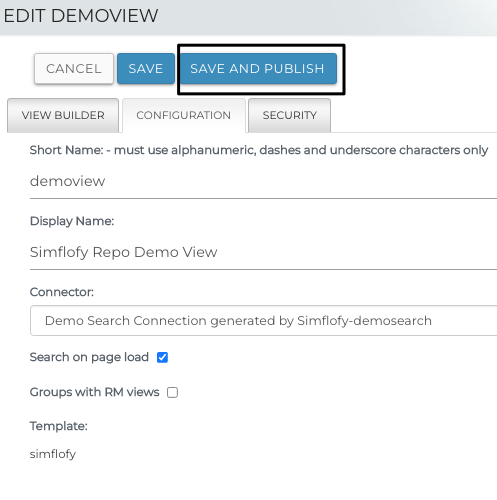
6) Create the Content View
If you already know how to create a content view, you can skip this step. Any searches performed using the connection from Step 4 will be filtered or restricted based on the authenticated user.
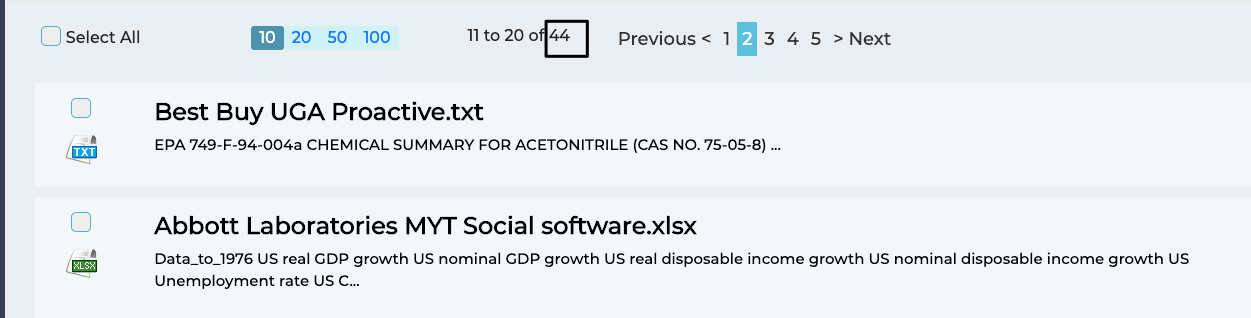
Over in Tsearch. We'll log in as a member of the non-pdf group