Event Job Tutorial
This tutorial will walk you through setting up an event job that will process one or more documents. After we create the event job, we will push a document to the event queue using an API call. The API call will also start the event job and copy our document from a source folder to a target folder. To get started we will need to create a source folder, target folder and a test document.
Getting Started
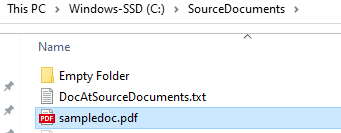
Create a source folder for your document. E.g. C:\SourceDocuments
Place a test document into this folder.
Create a target folder. E.g. C:\TargetFolder
Creating a Simflofy Event Job
Step 1. Create a File System Connection
You will need a connection to your source and target repositories. Because our source and target repositories are the same, we only need to create one connection.
Log into the Simflofy Admin tool (http://(your server)/simflofy-admin)
On the left-hand side expand Connections and choose Integration.
At the bottom of the screen on the right, click the button Create Integration Connection. Fill out the popup screen and click Save. This creates a connection to the File System that you can use as both a source and a target connection.
After you click Save, another screen shows the connection, click Save again.
Step 2. Create an Event Job
A Simflofy Job is the process of moving or syncing content (including versions, ACL's, metadata) from one CMS (content management system) to another. Since Simflofy Jobs are specifically engineered for content management systems, moving content and metadata is just point and click. There are many Job Types as well as Job Tasks that can handle anything from data validation and cleansing to duplication detection.
In the Simflofy Admin tool:
Expand Integration on the left-hand menu and choose List Jobs.
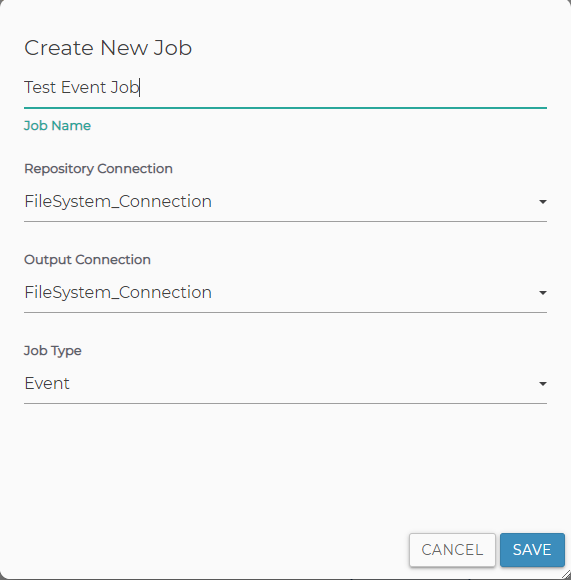
On the right-hand side, click the button Create New Job.
Enter the data into the popup screen and click Save. The Repository Connection is the source system and the Output Connection is the target system.
For Job Type, select Event
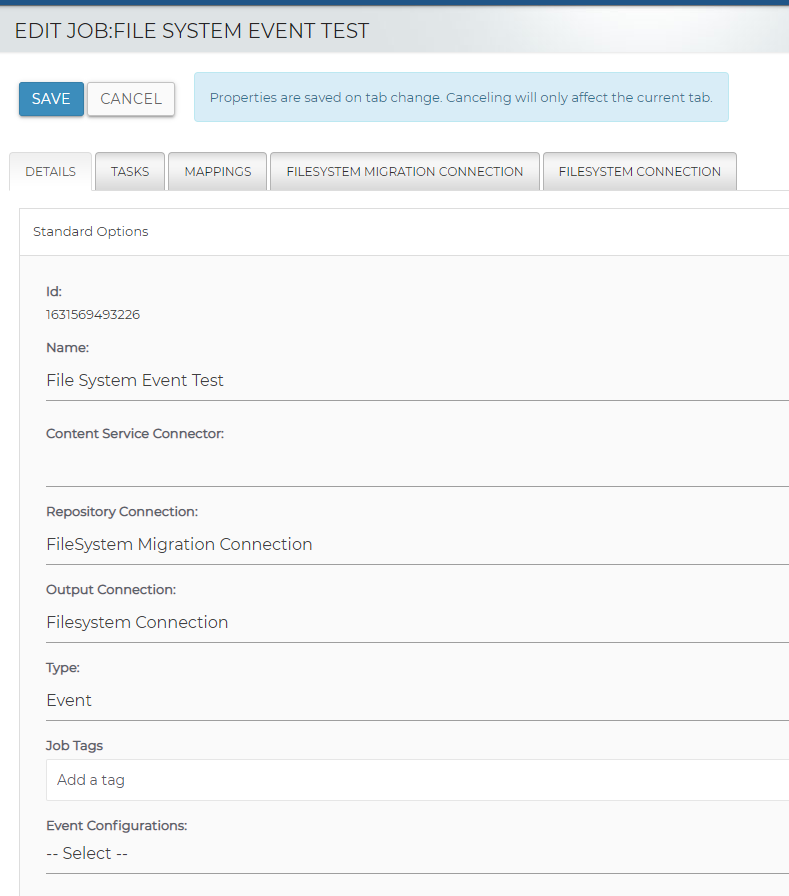
- Click Save on the popup, and you are now presented with the edit screen for
your job.
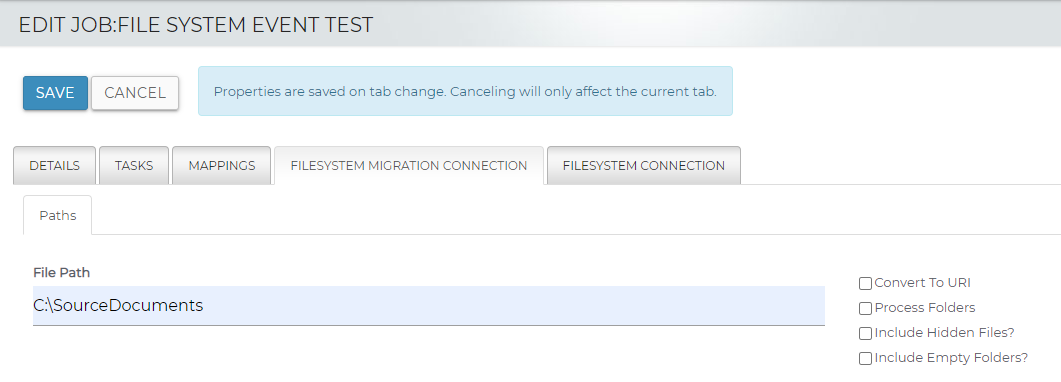
- The source file path should be set to include the location of the files
you want to push. In our case we will set it to C:\SourceDocuments. Any files
in SourceDocuments or its subfolders will be able to be pushed.
info
It is possible to set the File Path to a root drive such as C:\. We do not recommend doing this as it would allow any file on that drive to be pushed.
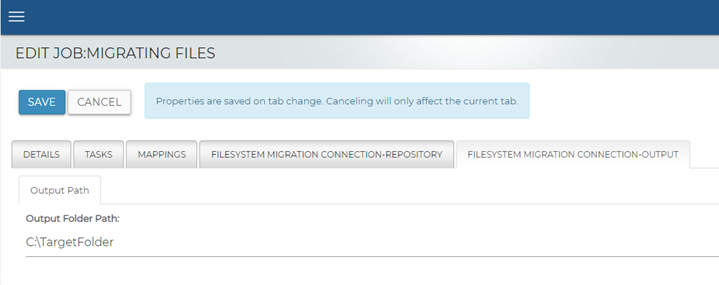
Next we need to enter the target folder. Click on FileSystem Connection-Output tab and enter the target folder where the file(s) will be copied (migrated) to: C:\TargetFolder
We will leave the default values for everything else and click Save.
This saves our event job, and we are ready to execute it.
Step 3. Execute the Event Job (Using an API call)
We have to tell the event job which document we want to process. This requires making an API call and passing two parameters, jobId and documentId.
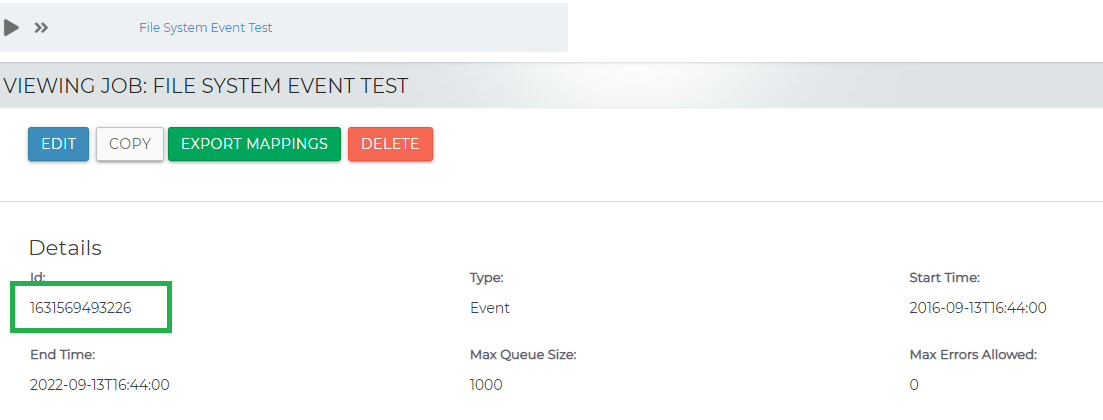
Find the job ID
To get the jobId, open the job and on the Details page look for the ID field
Edit or view the job we just created to see the job id.
Find the document ID
To get the documentId, use the full path of the document. I.e. C:/SourceDocuments/sampledoc.pdf
In the SourceDocuments folder we will be copying sampledoc.pdf. Therefore, the documentId will be the full path: C:/SourceDocuments/sampledoc.pdf. Note the forward slashes.
Construct an api url and call it.
Construct the API URL:
We will now call the API to push the document into the queue for processing.
URL format:
http://{HOST}:{PORT}/simflofy-admin/api/event/service/pushevent?jobId=1631569493226&documentId=C:/SourceDocuments/sampledoc.pdf
Example curl command:
curl -u username:password http://localhost:8080/simflofy-admin/api/event/service/pushevent?jobId=1631569493226&documentId=C:/SourceDocuments/sampledoc.pdf`
Once the API is called, the document will be placed in a queue and the event job we created above will be started.
The Source file will be copied to the destination folder TargetFolder. (note the full path of the source document is copied to the target folder.)
You can continue to call the api with different document IDs, and they will be processed as soon as they are inserted into the queue.
Also, note that the event job will continue running until you kill the job.
To kill a job, on the left-hand menu under Admin, select Active Jobs - Select the trash can icon to kill the job.
Related Articles:
Integration Event Configurations
Simflofy Integration Jobs
Integration Job Configurations