Kibana Configuration
Follow these set up steps to configure Simflofy to connect your server or source files to your Elasticsearch Kibana environment.
- Integration Connection: Connect to your server or source location
- Authorization Connection: Authorize Simflofy to access your Elastic Search instance
- Content View Connection: Set up the parameters to allow Elasticsearch to sort through and display the data in your index
- Output Connection: Connect to your Elasticsearch environment to allow simflofy to output your data for reporting
- Integration Job: Set up the job necessary to integrate your data from your repository location to your output location (Elasticsearch). Include any tasks to help filter, check or update the data while it's being integrated.
Repository Set up
Now we need to set up our repository connection. This will allow simflofy to look at your source location or repository so that we can pull the details of your files that you want to report on. In this example we will be using our local file system. For details on setting up a connector for any one of our many software connections click here.
Start by clicking the add new repository connector button at the bottom of the integration page.
Give your connector a name and description (optional) and select the connector type from the drop-down list.
Fill in the any other required fields including selection the Authorization connector if it's required.
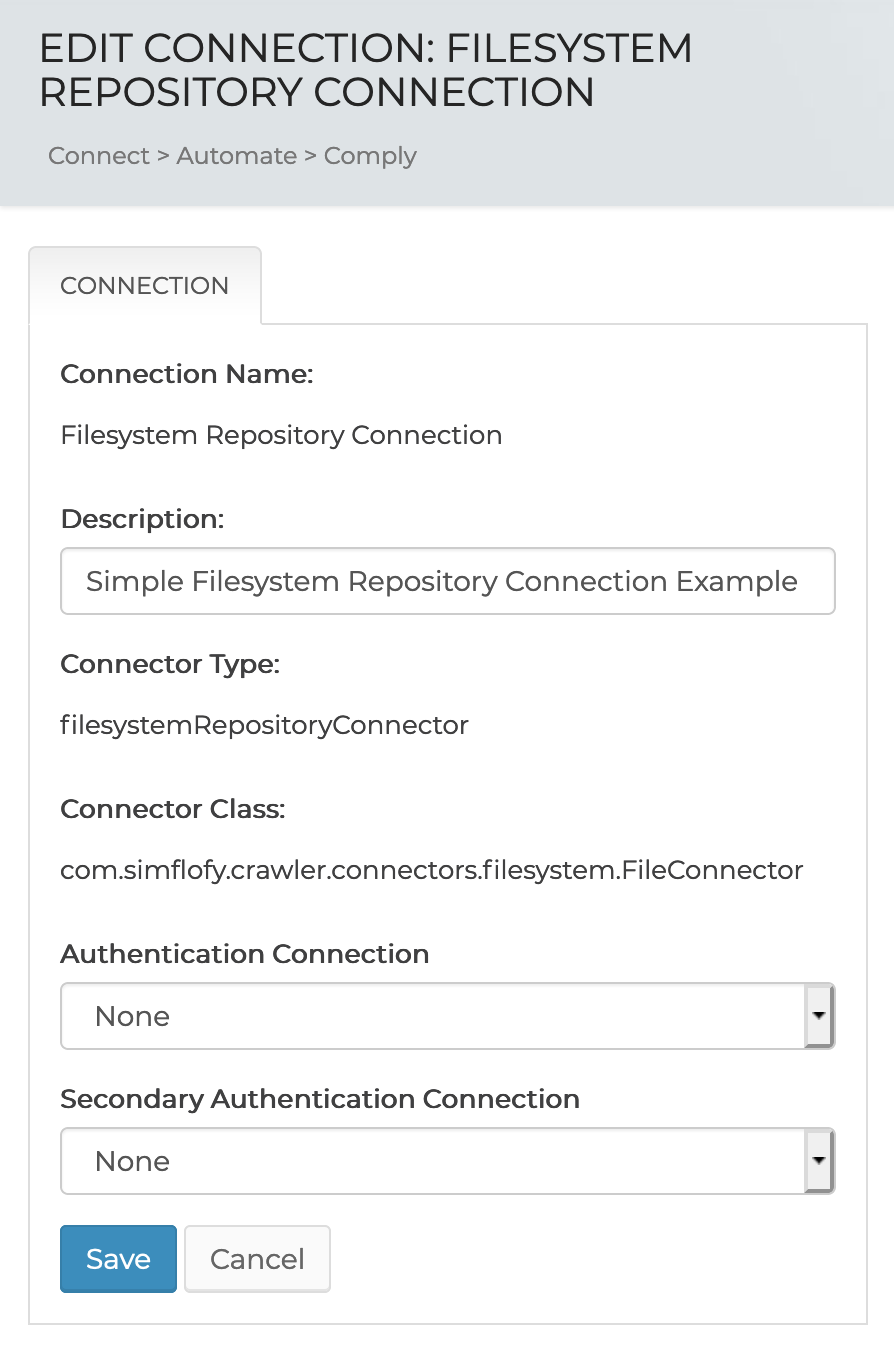
Click Save to proceed to the next step.
Authentication Connection
- Under Connectors in the Simflofy Navigation on the left click Authorization Connections.
- Click the CREATE NEW AUTH CONNECTION button at the bottom of the Authorizations Connectors Page.

- Connection Name: Name your connection
- Connection Type: Select the Simflofy Elasticsearch Authentication Connector from the drop-down list.
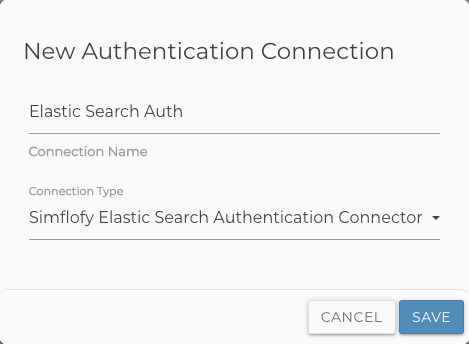
- Click SAVE.
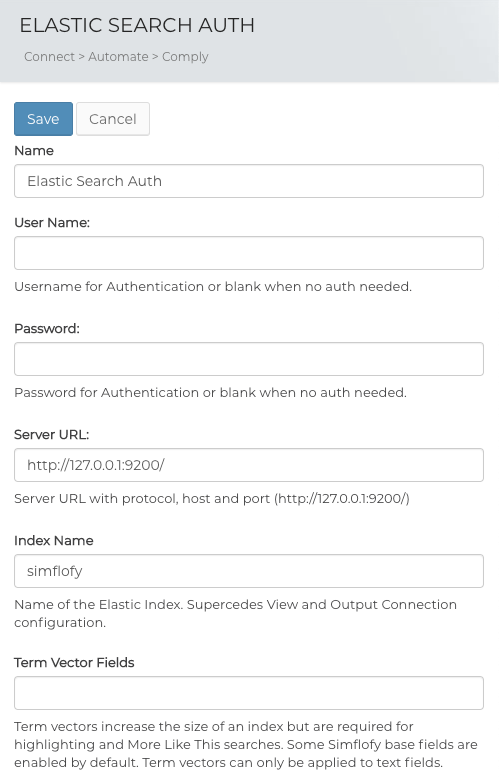
Elasticsearch Authentication Connector Fields
- Name: The unique name of your Elasticsearch Auth Connector from the prior step
- Username: Username for Authentication or blank when no auth needed.
- Password: Password for Authentication or blank when no auth needed.
- Server URL: Server URL with protocol, host and port default: (
http://127.0.0.1:9200/) - Index Name: Name of the Elastic Index. Supersedes View and Output Connection configuration.
- Term Vector Fields: Term vectors increase the size of an index but are required for highlighting and More Like This searches. Some Simflofy base fields are enabled by default. Term vectors can only be applied to text fields.
Output Set up
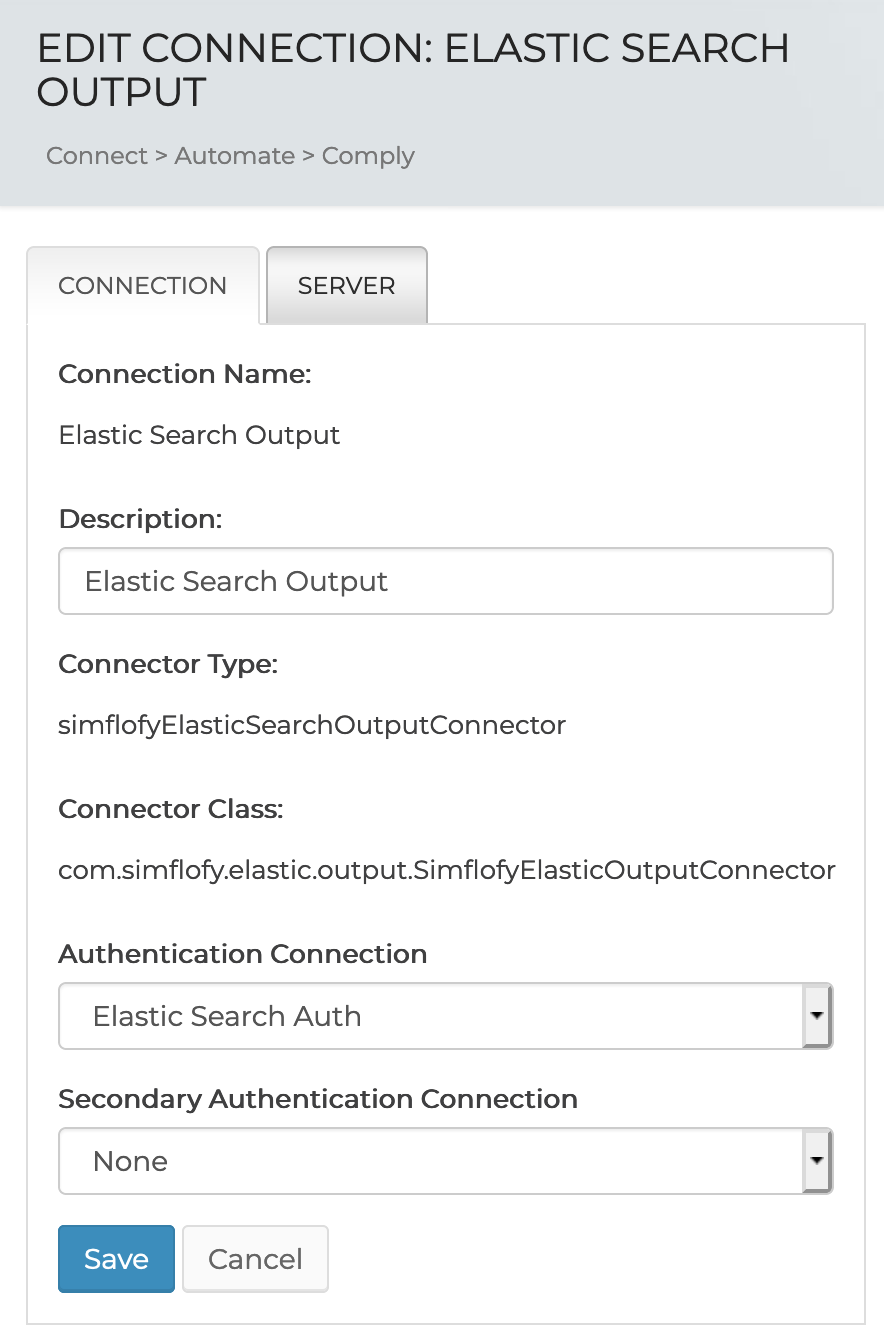
In the next step we will set up Elasticsearch as your Output Connection. This will allow Simflofy to integrate the files from your File System into Elasticsearch, so we can run reports on the document properties and other details.
To set your Output connector click on the Create New Output Connection Button at the bottom of the Output connections page.
Give your Connection a name and a description and click save to continue setting up the connection.
Select your Authentication Connection you set up in the first step.
Select the server tab to continue.
Elasticsearch Output Connection Server Set up
On the server tab add the following:
- ID Attribute: This will be the field that will be used to set the document id. The default is simflofy
- Index Name: This will be the name of the index you created when you set up your Elasticsearch.The default should be simflofy
- Update Mode: Check this box to allow Simflofy to attempt to update existing files during the integration.
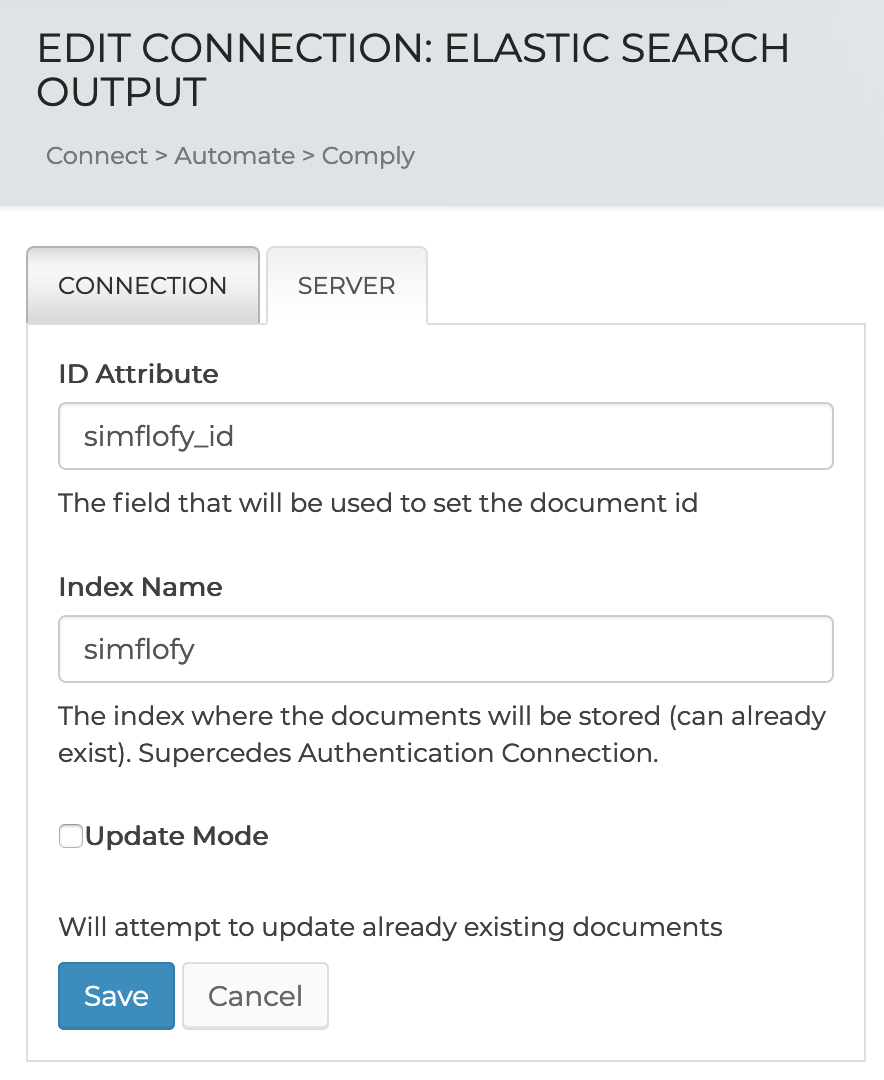
Click Save to save your changes.
Integration Set up
Next let's set up your integration. This will allow you to view all the files in your source location(s) or your repository. It also pulls the file properties, so you can report on and analyze your data in real time. If your repository requires an authorization connection you will want to run Discovery to get the properties of your files.
Under Integration select List Jobs and click the Create New Job Button at the bottom of the Job List page.
Give your new job a name to describe what will be processed
Select your repository migration connection
select your output migration connection
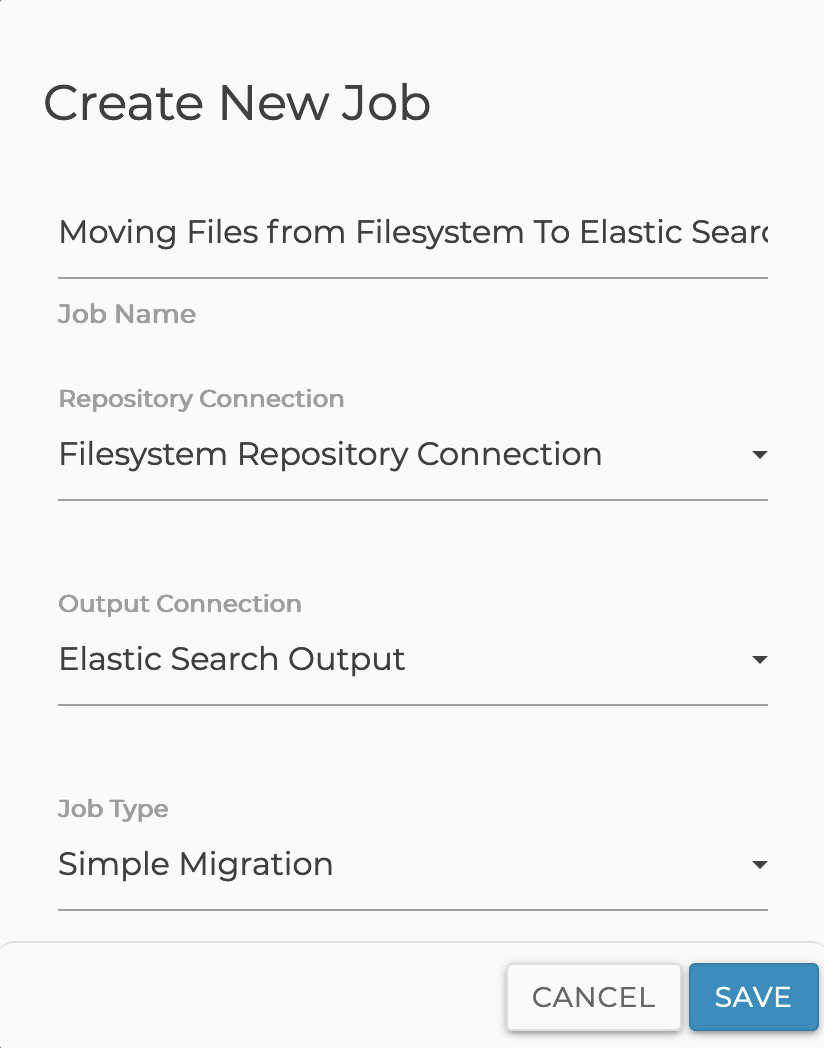
Click Save
Go to the next step to set up tasks, mapping and any other repository or output configurations.
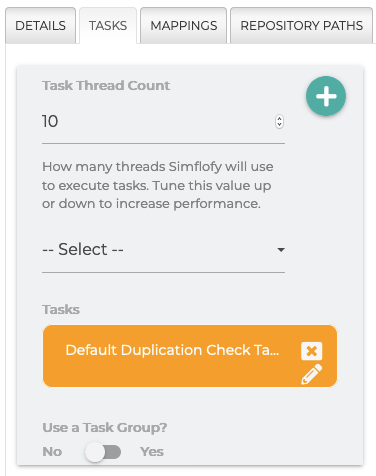
Integration Job Tasks
Once the job has been created you can add different configurations based on what and how you want your files to be viewed.
In this example we will be using the Duplication check task.
Adding this task to your job will allow Simflofy to identify duplicates based on the field you have listed to compare.
To add the task click --Select-- and select your task from the drop-down list.
Click here for a list of available Job Tasks. Any tasks not listed can be created by our developer team.
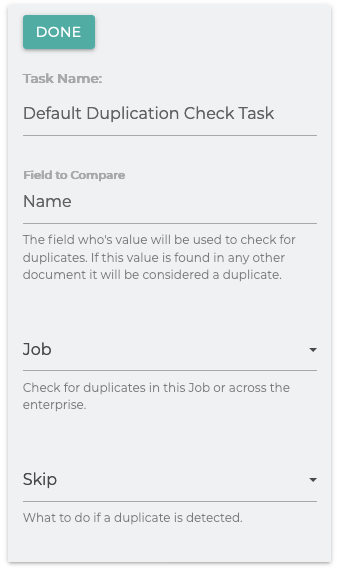
Duplication Check Task
You can choose to check for duplicates in the integration alone or across all documents in your Elastic server.
Once the duplicate is found you can choose what to with it. You can choose to either skip the file or report it as an error.
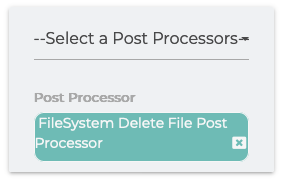
Post Processors
You can also choose to delete duplicate files after the job runs in the post processor section of the task.
Once you have properly configured the Integration job select Run and Monitor Jobs from the navigation menu and click the play button next to your newly created job. Once the job run is complete you can then begin using Kibana in Elasticsearch to begin reporting on your field properties.
Next Step: Indexing